
Pilots Log
LADMAS Aughton Scale Day 2019 - By Alan Glover
This was the 4th scale fly in at the club’s Aughton site and we were blessed with perfect weather for the whole days flying.
It should be borne in mind by us all that these club events whether at Halsall or Aughton don’t just happen but rather they take several days of preparation and pre planning so as ever thanks and appreciation are due to those who take the trouble to do so on our behalf. Let us never forget that these are all volunteers who in many cases give up their flying day so that we can enjoy ours. With that in mind our thanks on this particular occasion are due to Gary and his ‘team’ of volunteers including in the main Barry, Neil, Mike and Dan along with several others who so immaculately prepared the flying site, erected the marquee and arranged the barbecue and drinks which were so efficiently dispensed on the day by Kim and Marianne.

To continue reading the 2019 Aughton Scale Day Report click HERE
To read the 2018 Aughton Scale Day report, by Alan Glover Click HERE
* * * *
The Fieseler 156 Storch Trio Unite - PART 2
Tubular Cabin Construction
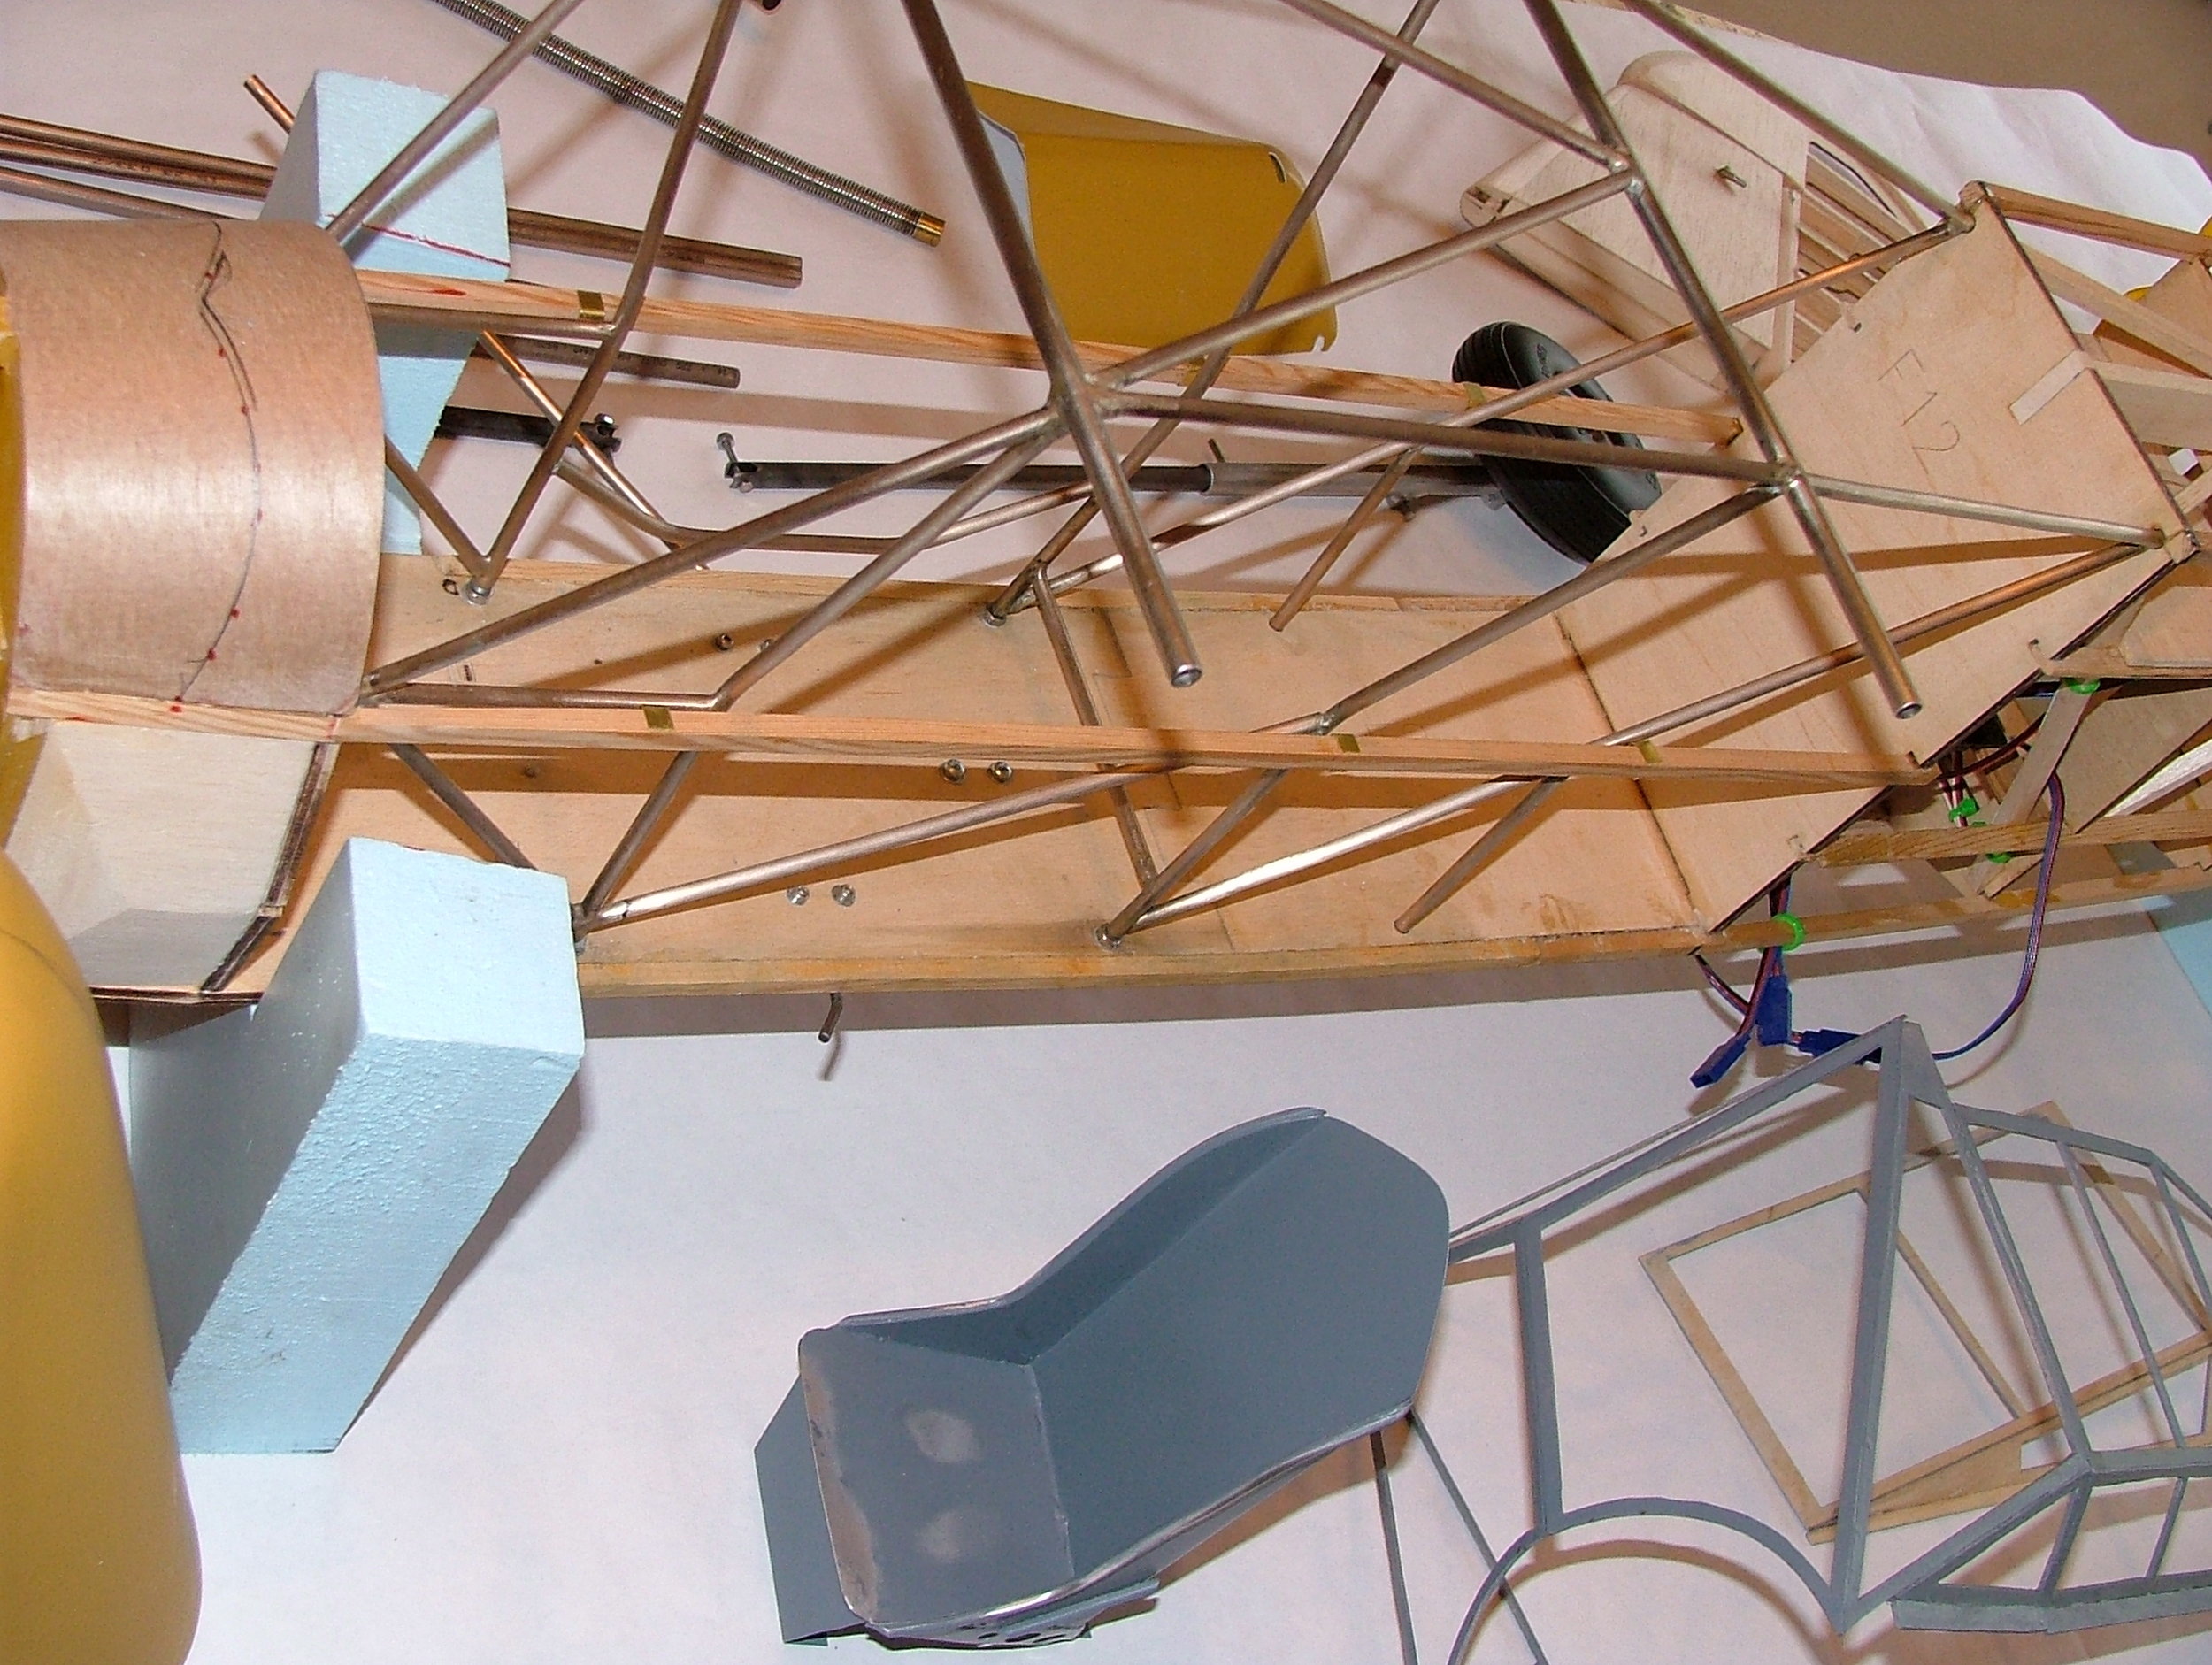
In this part I hope to provide a little detail of the build of the Storches. I think I should start with John Kidd’s cabin tubular framework. His speed and accuracy of build of this part of the project really impressed me. Whilst I had constructed mine within the fuselage wooden structure and endeavouring not to set fire to everything John set about it in a sensible methodical way.
He first constructed a set of wooden jig plates and then fed in the tubes and systematically silver soldered everything. In so doing he ended up with everything being symmetrical and performed the silver soldering easily without parts moving. I can only say that John’s methods have taught me a lesson for future projects.
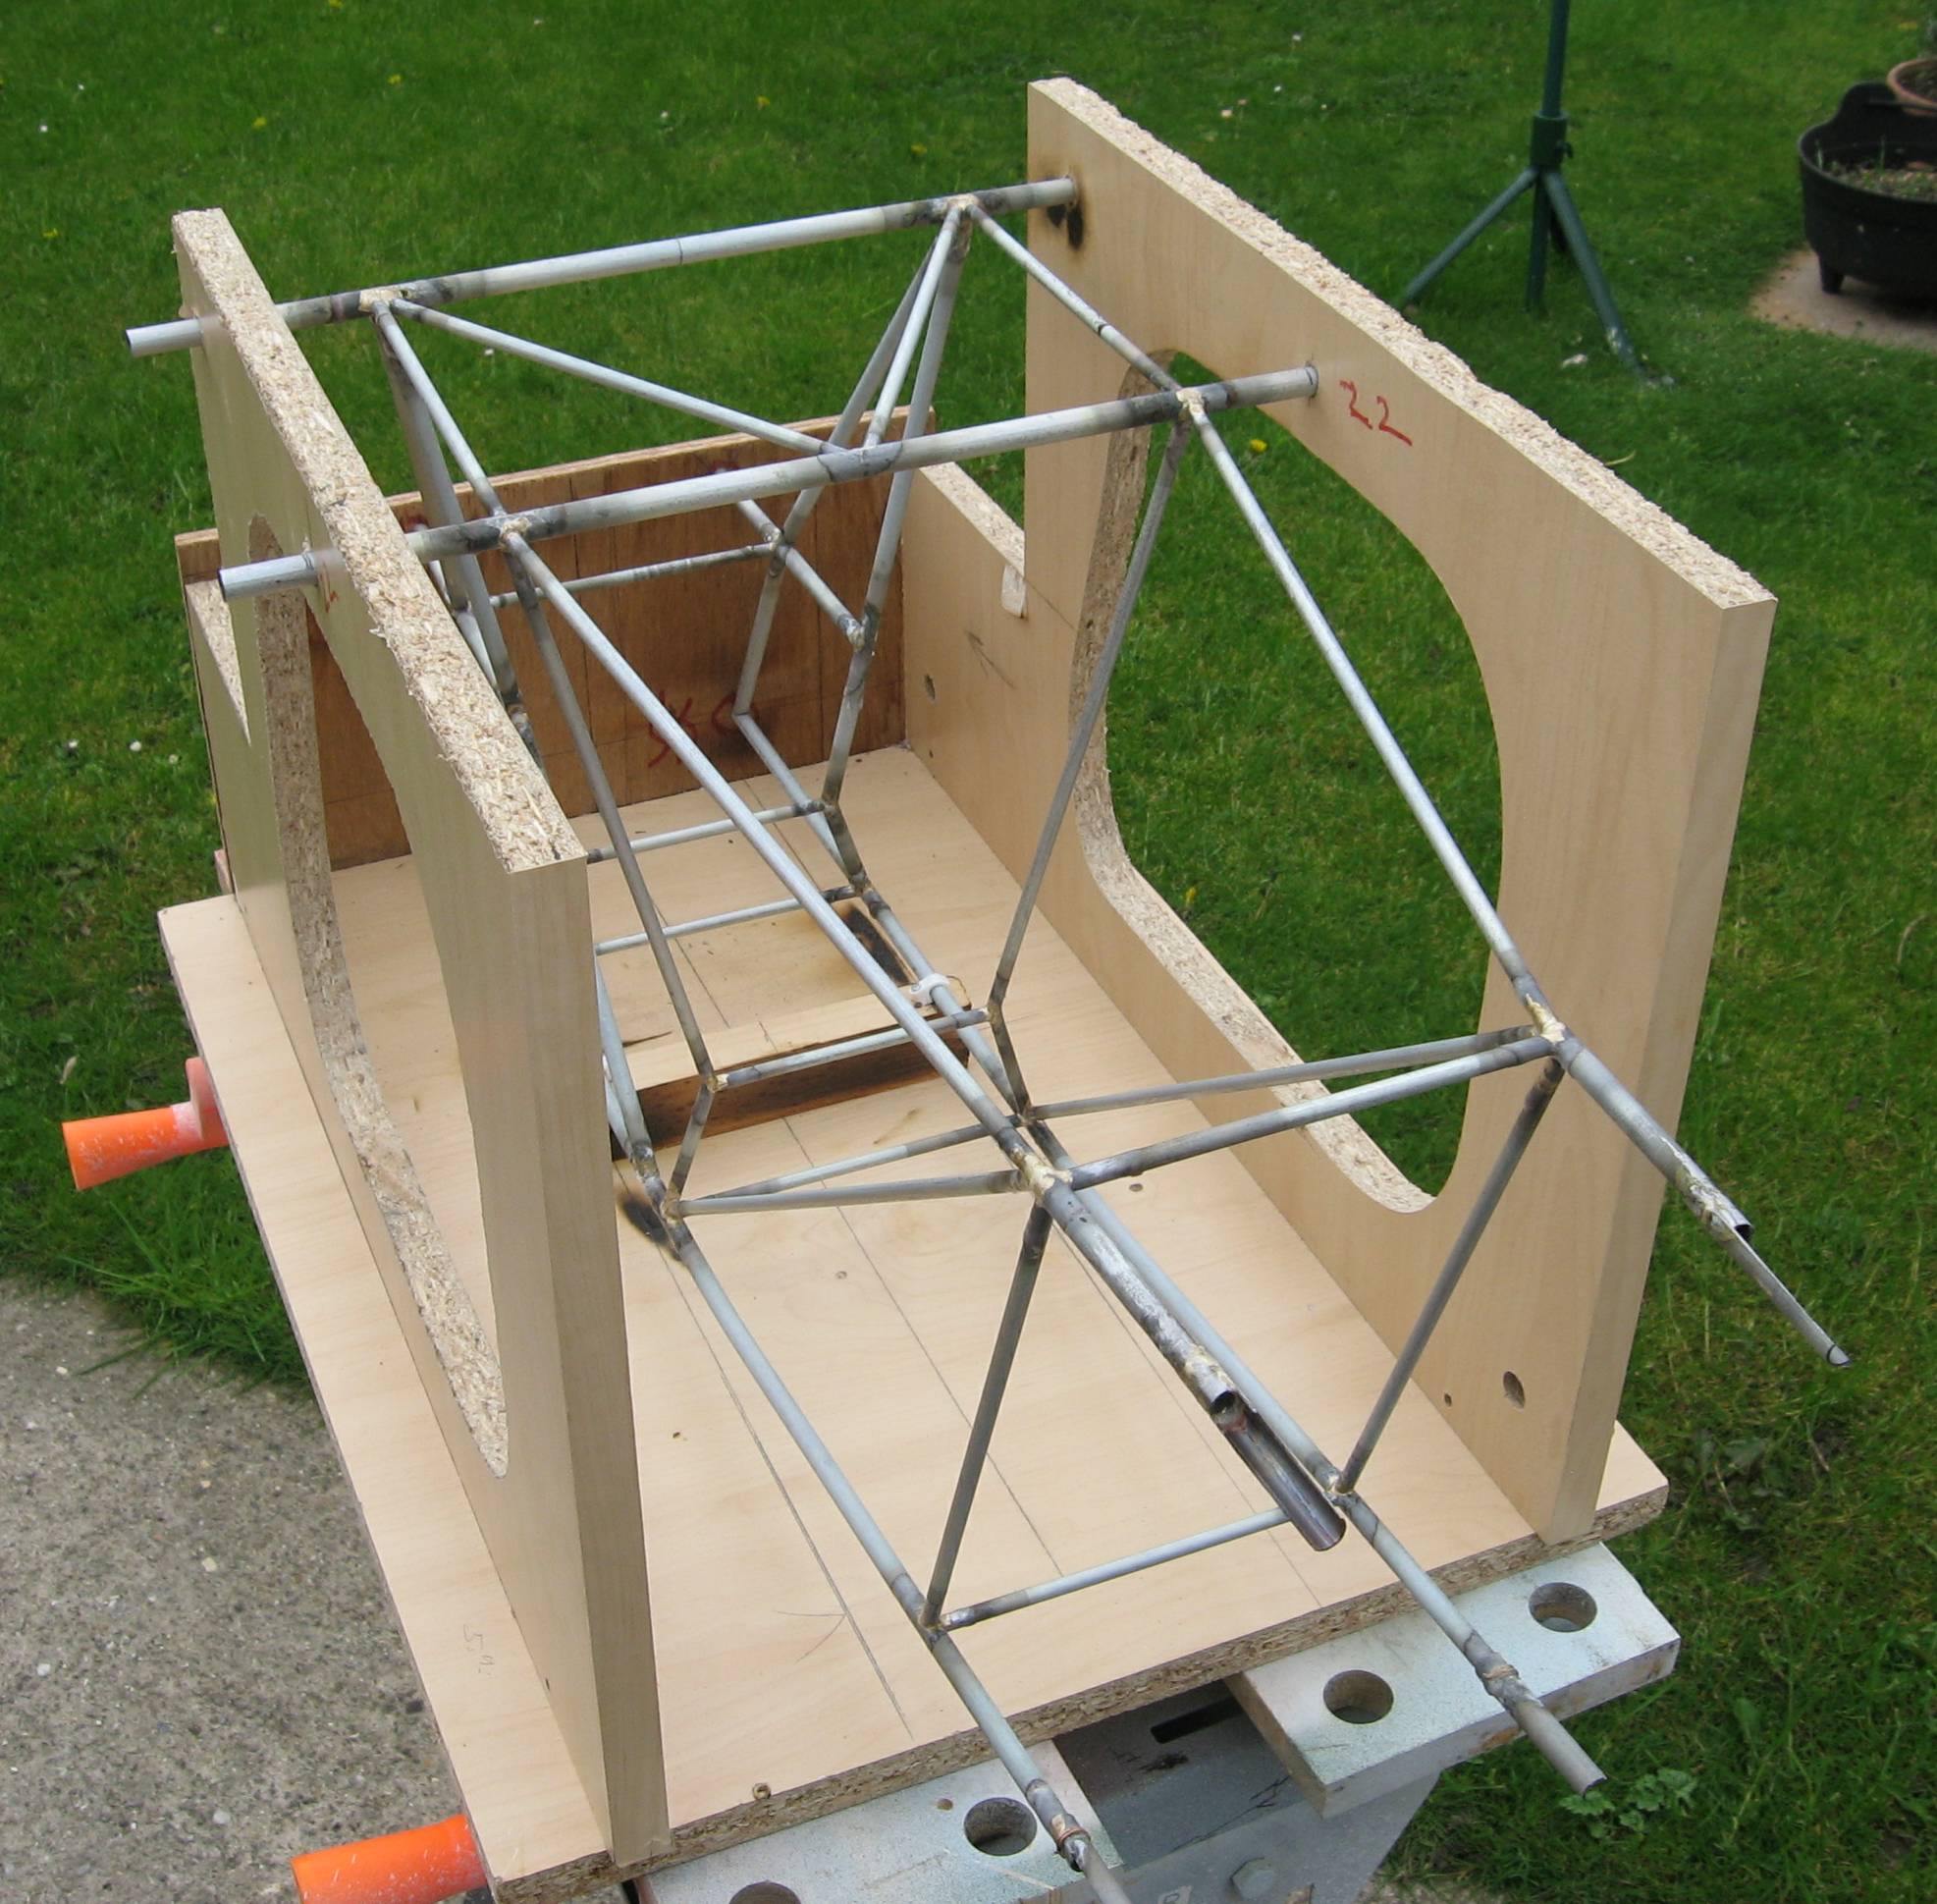
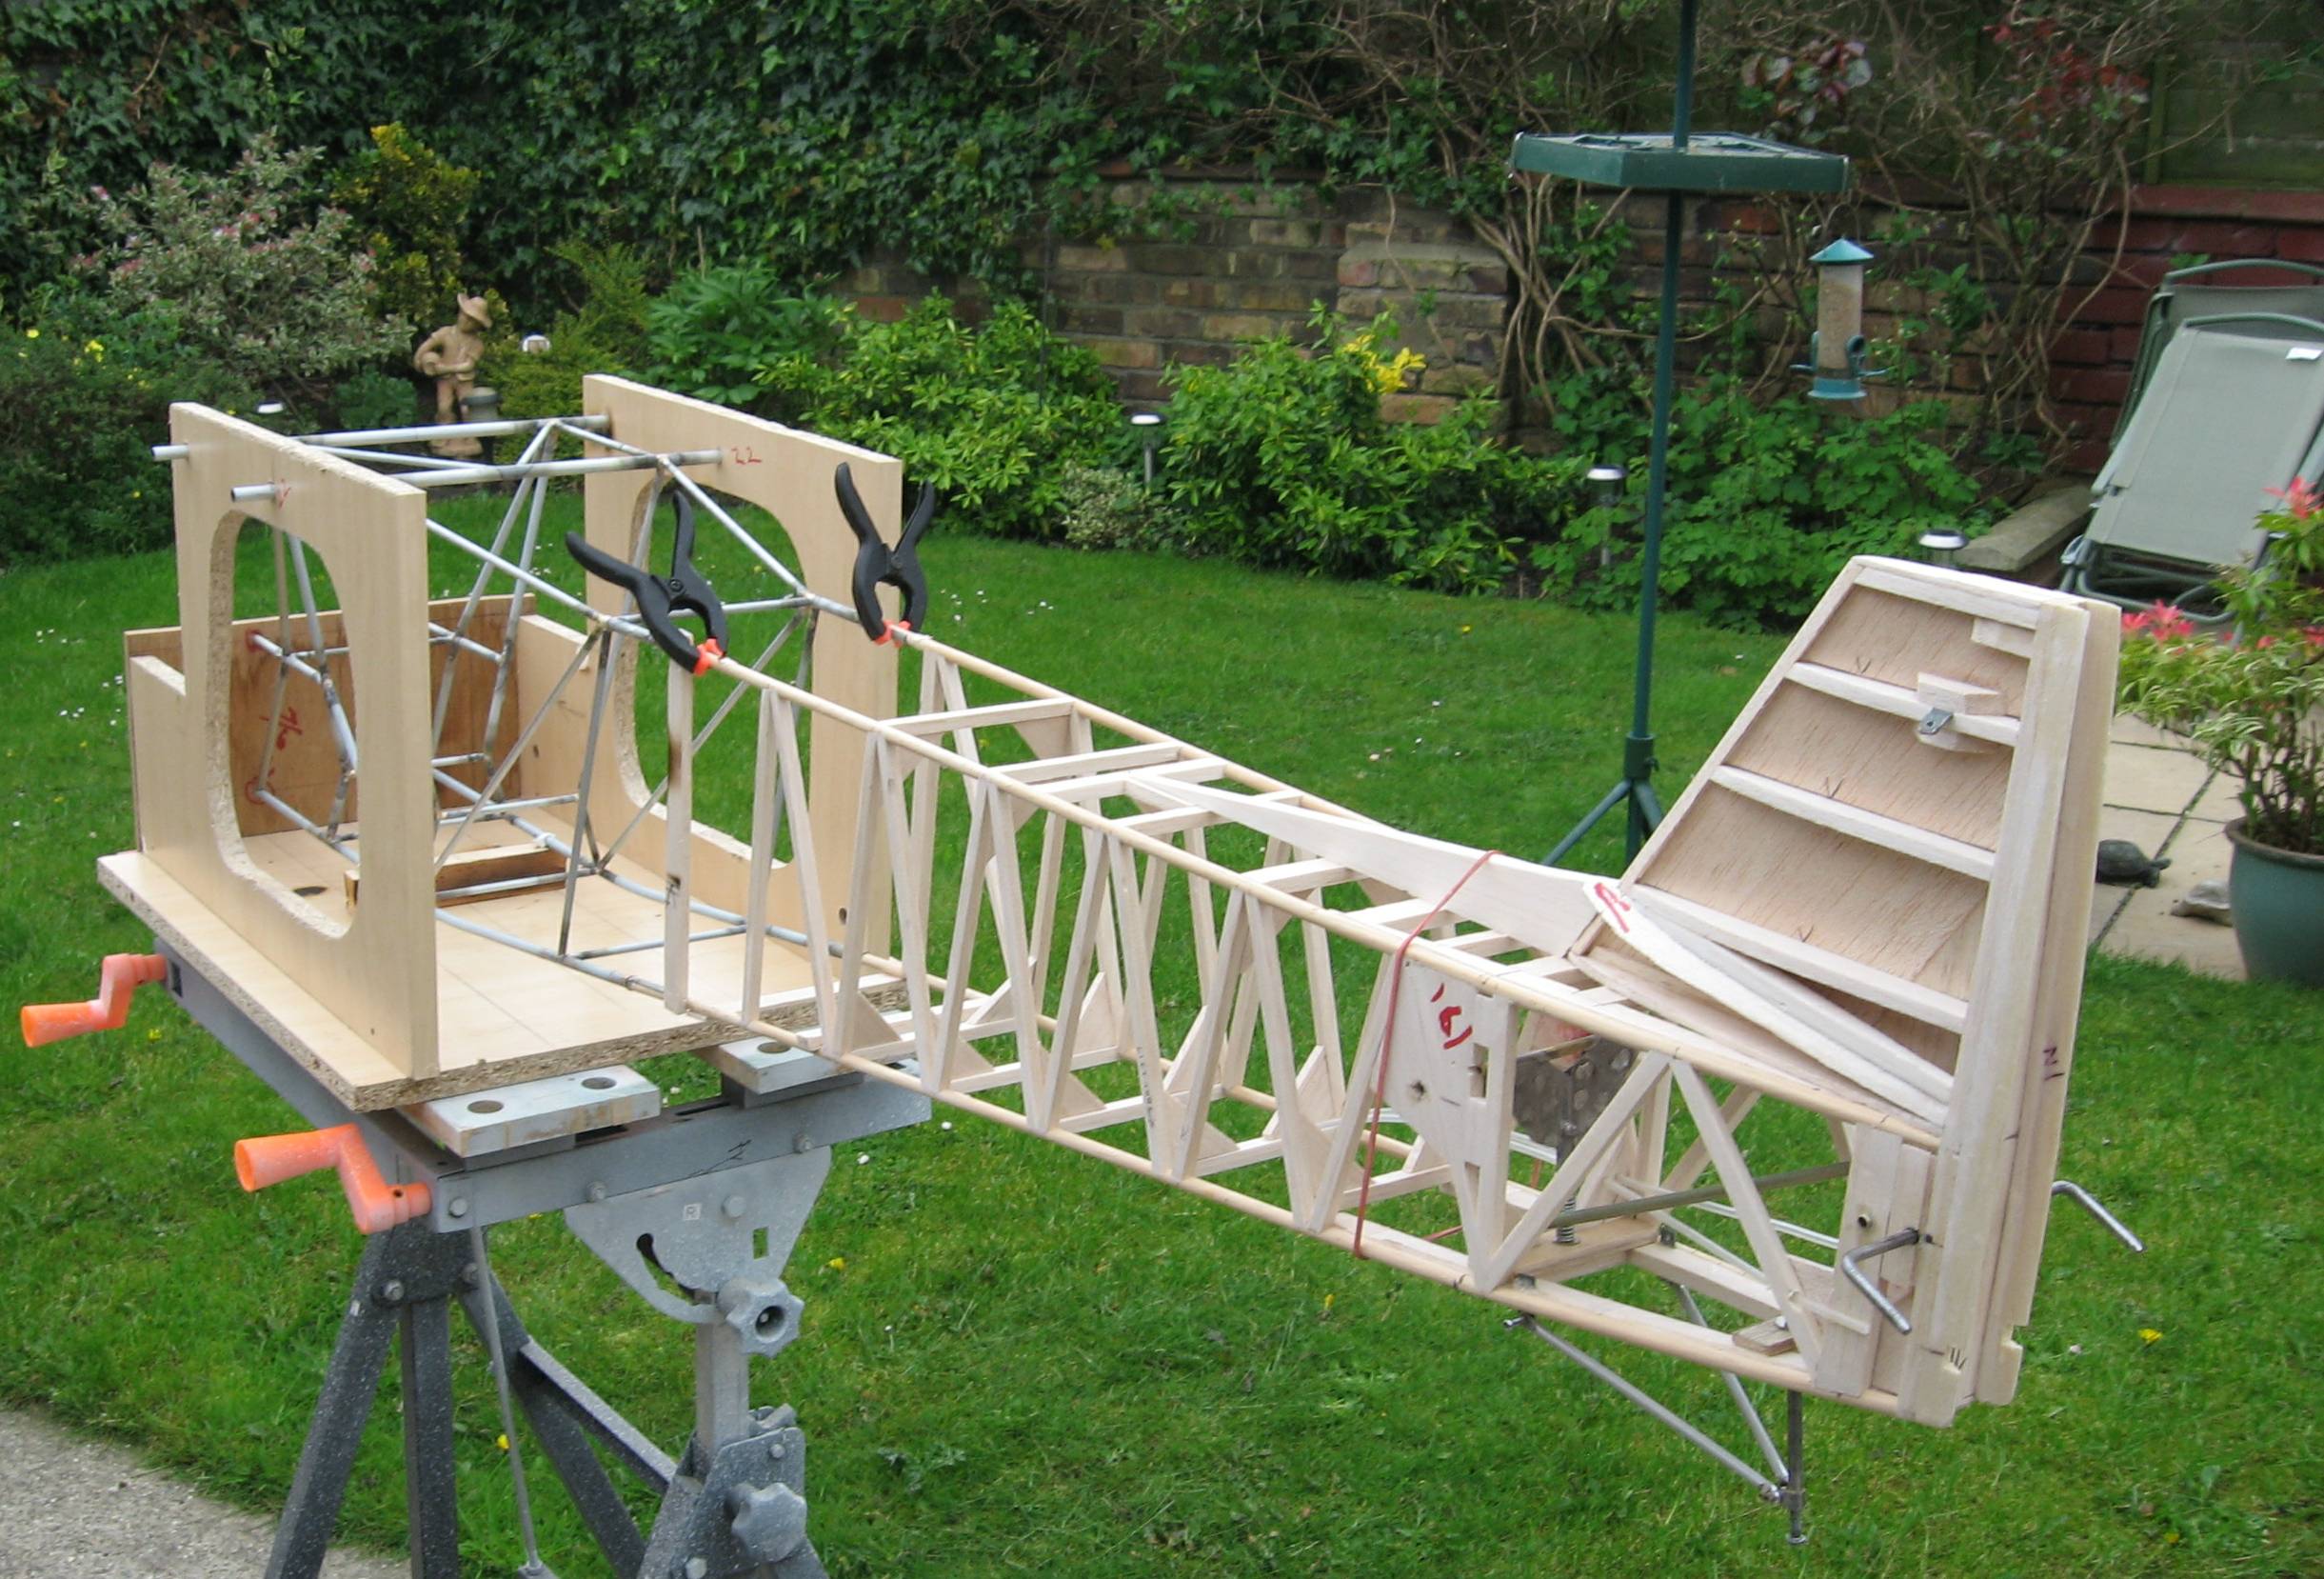
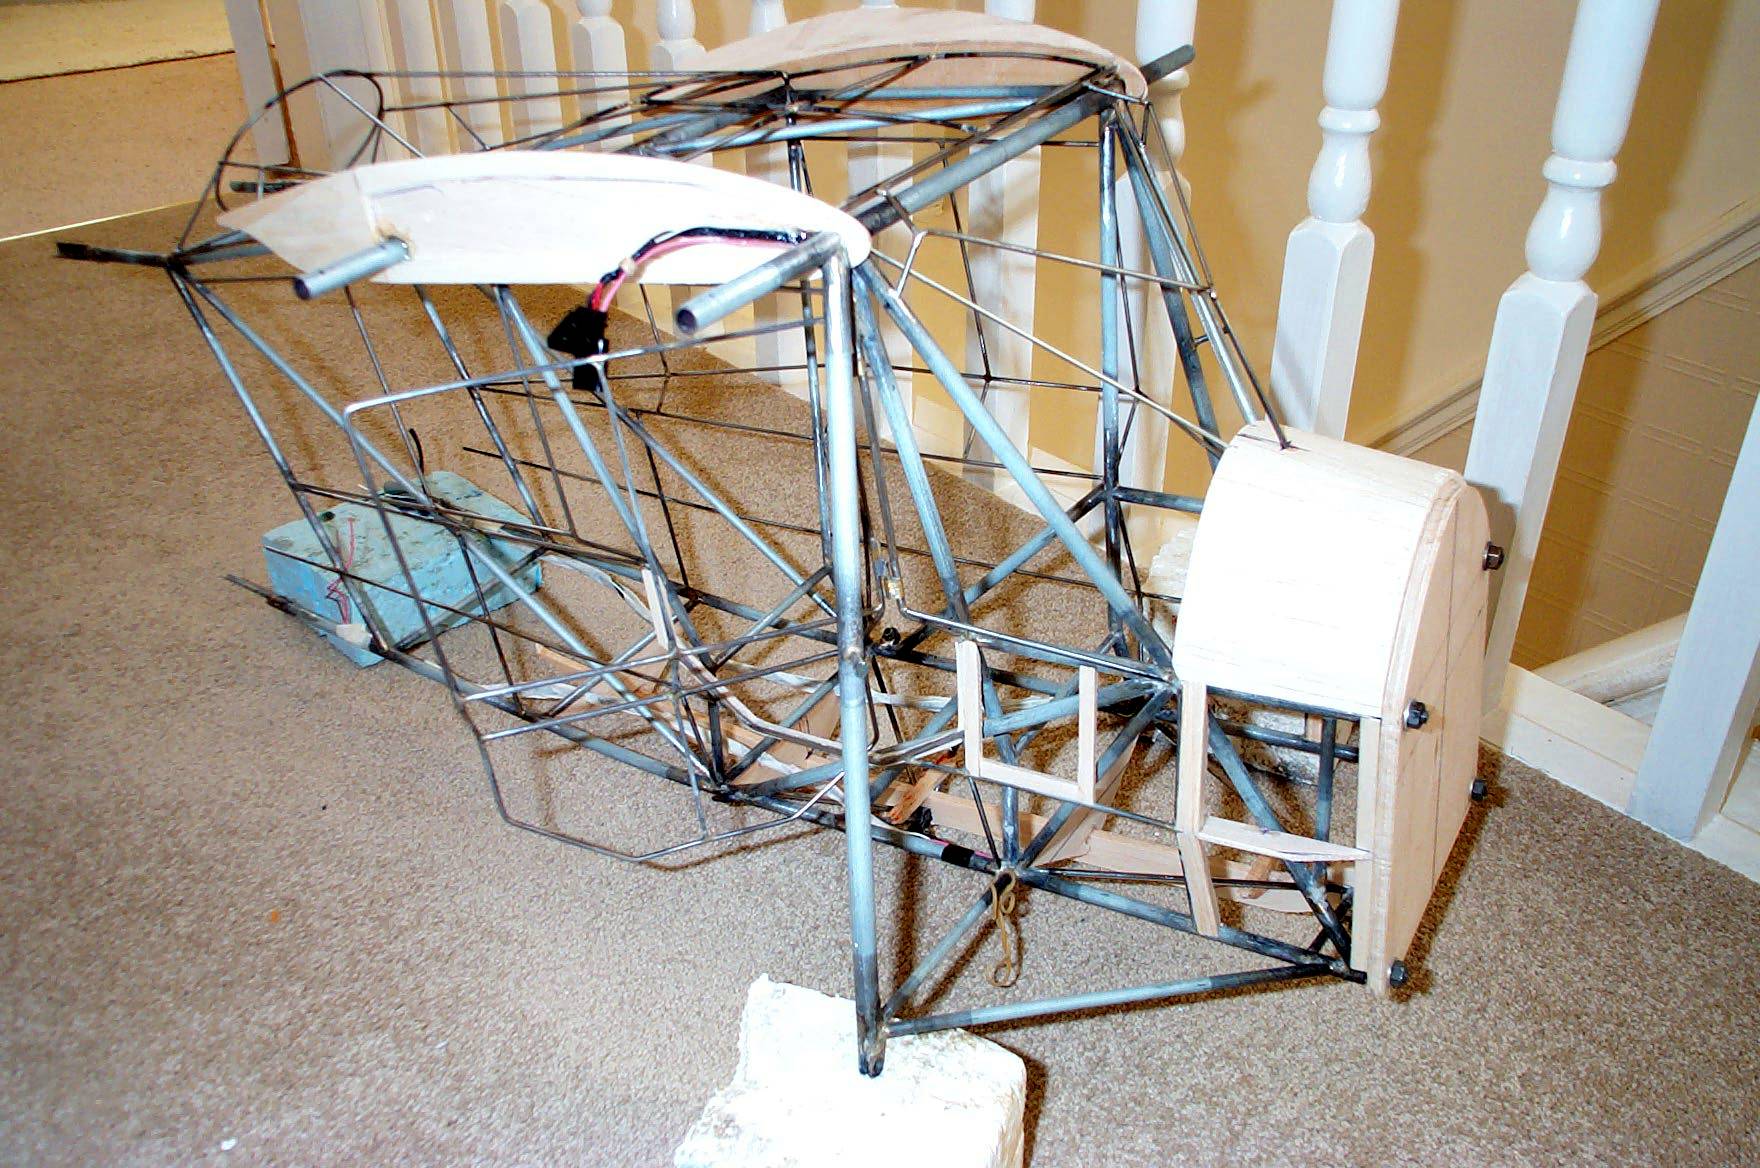
The photographs clearly show the tubular structure. In photo 1. you can see how simple the jig, and how effective. The second photo reveals the simplicity of the attachment of the rear fuselage. In photo 3 the firewall is attached and John has pre-empted any reduction in the size of his transport by attaching the complete engine/cowl etc. by four bolts enabling him to reduce the length of this large model, which is about 78 inches long. In Photo 4 you can see the cabin structure of my Storch with much the same result, but with a more arduous route!
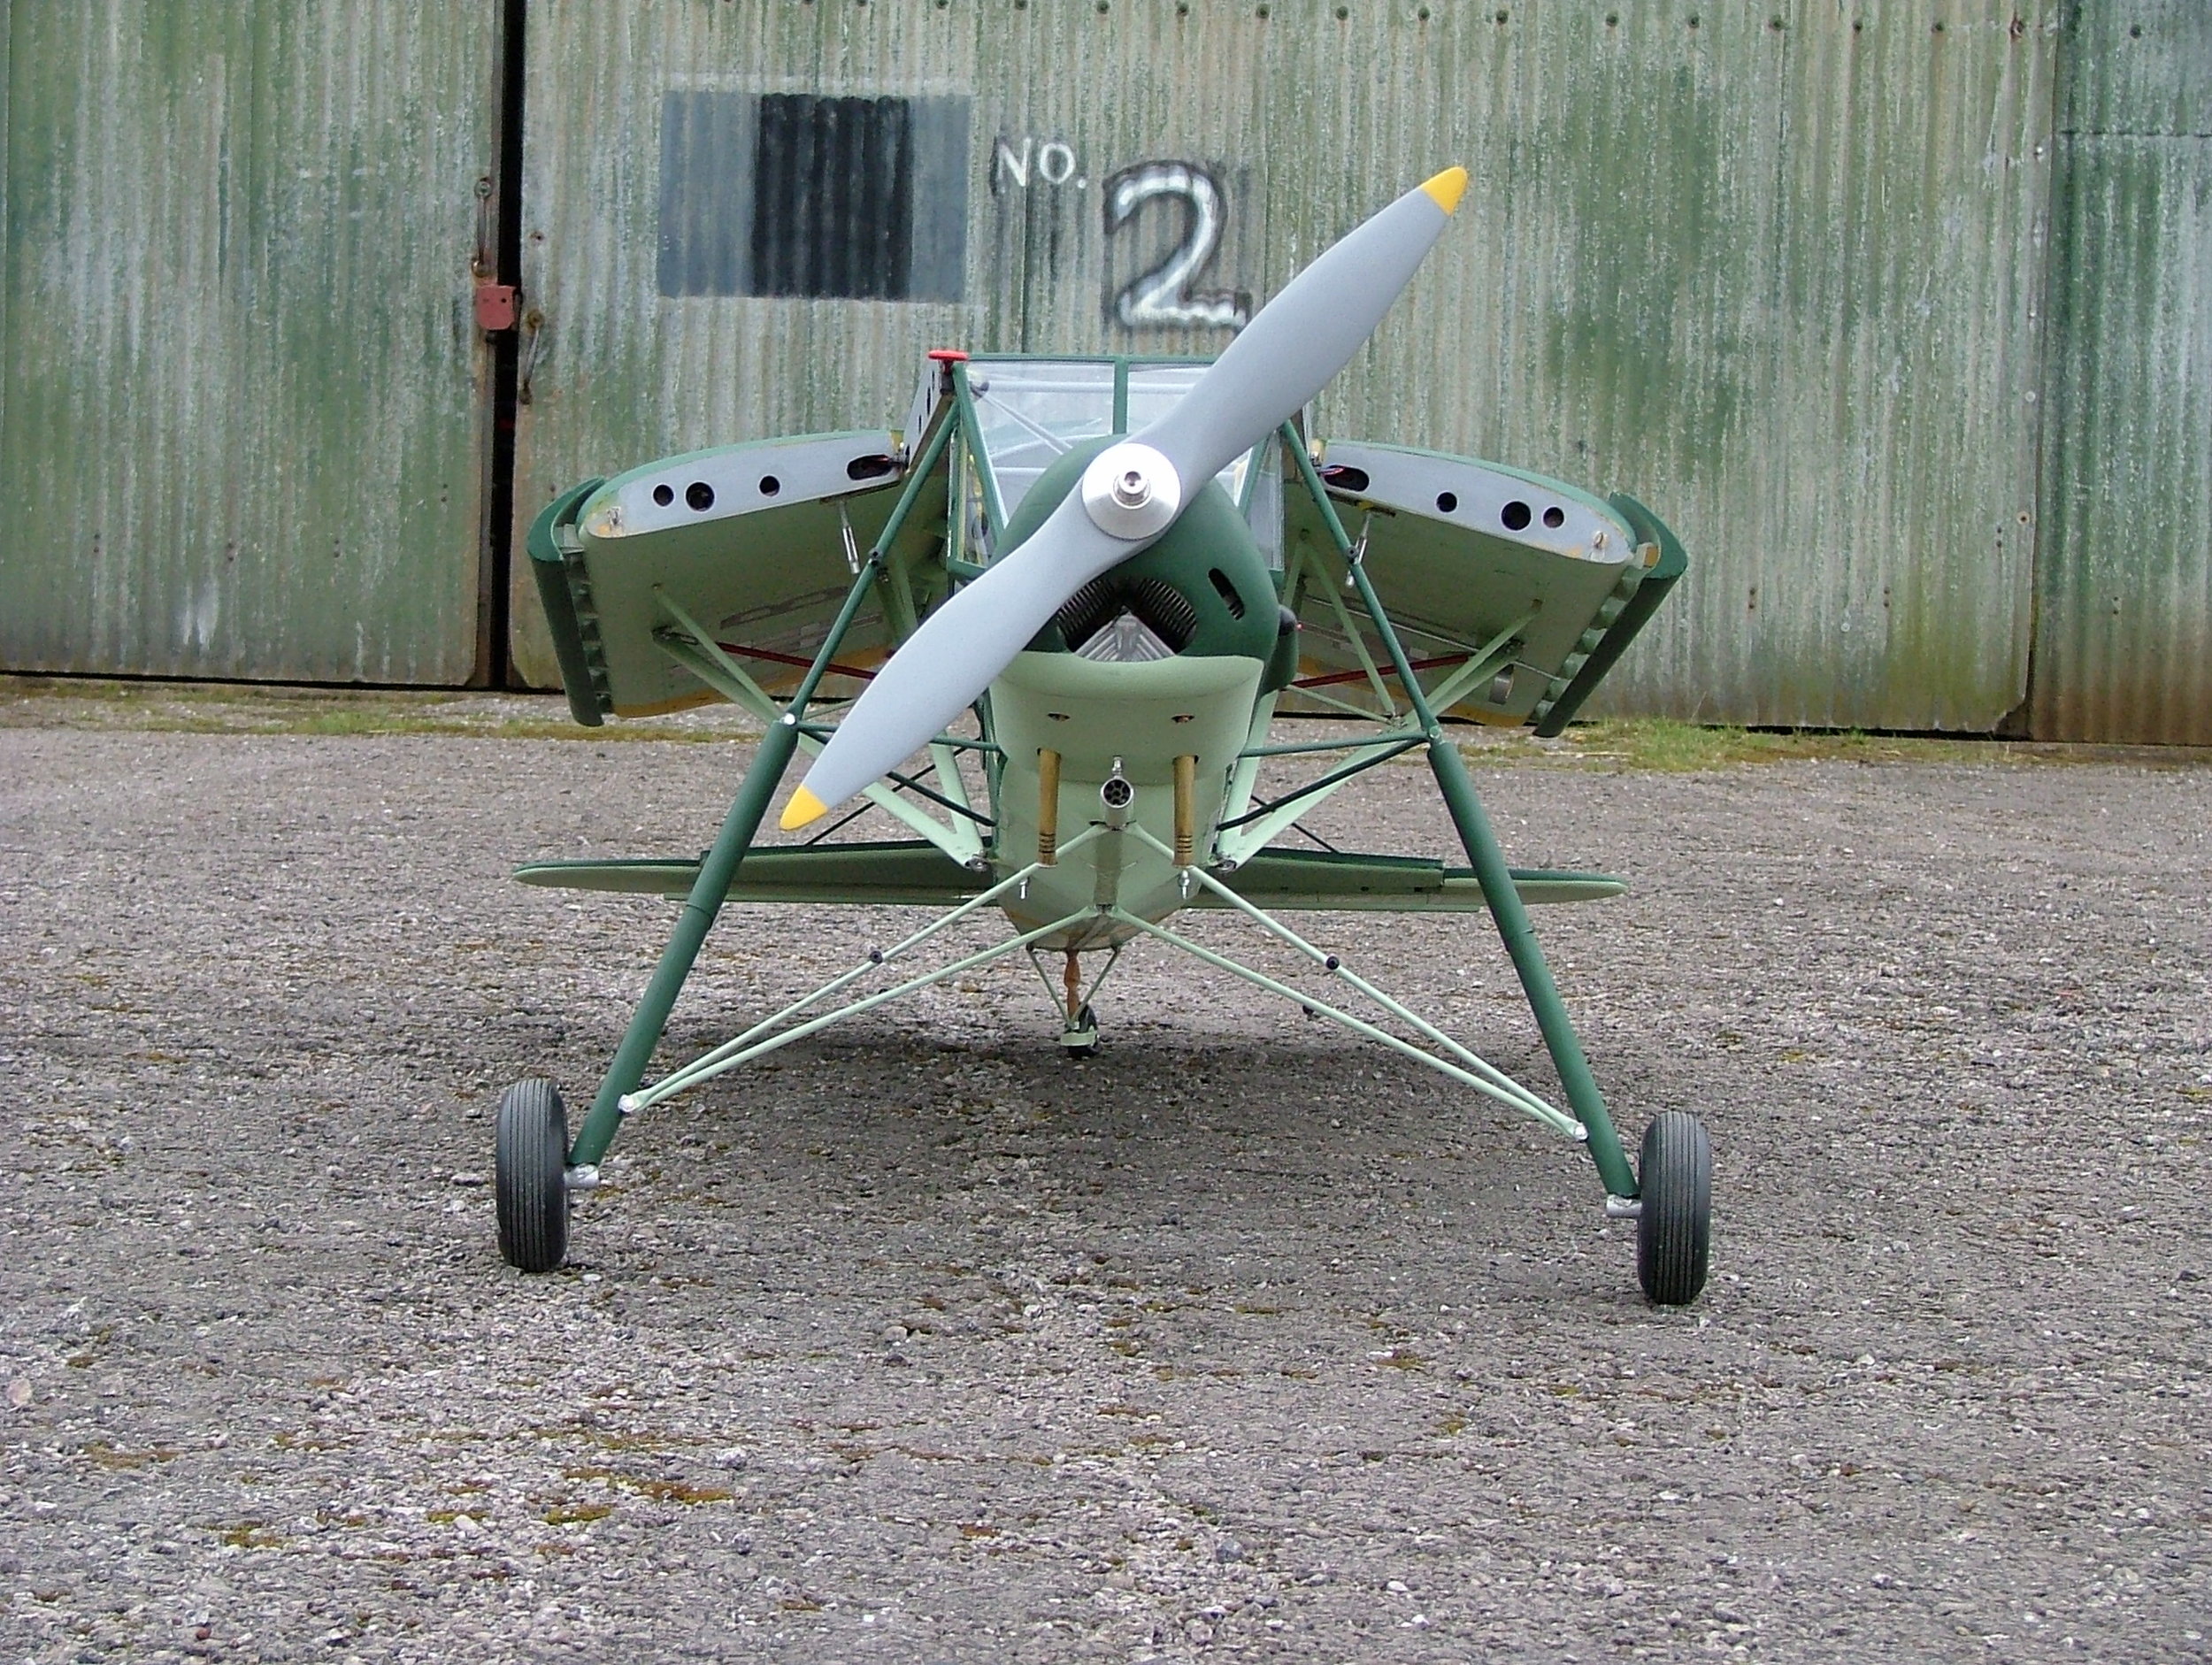
The Undercarriage
The undercarriage on the Storch is long and gangling. If the undercarriage is wrong then bad landings are not forgiven. The full size has soft springing and very high damping to compress slowly and absorb the pressure and not spring back to make the aircraft airborne again. The following shots of Johns U/C legs highlighting his eye for detail on the brake drums etc.

My existing undercarriage struts are just sprung with zero damping. I have therefore embarked on a project to have highly damped struts to take the ‘bounce’ out of my landings. If successful I will be providing details to the magazine.
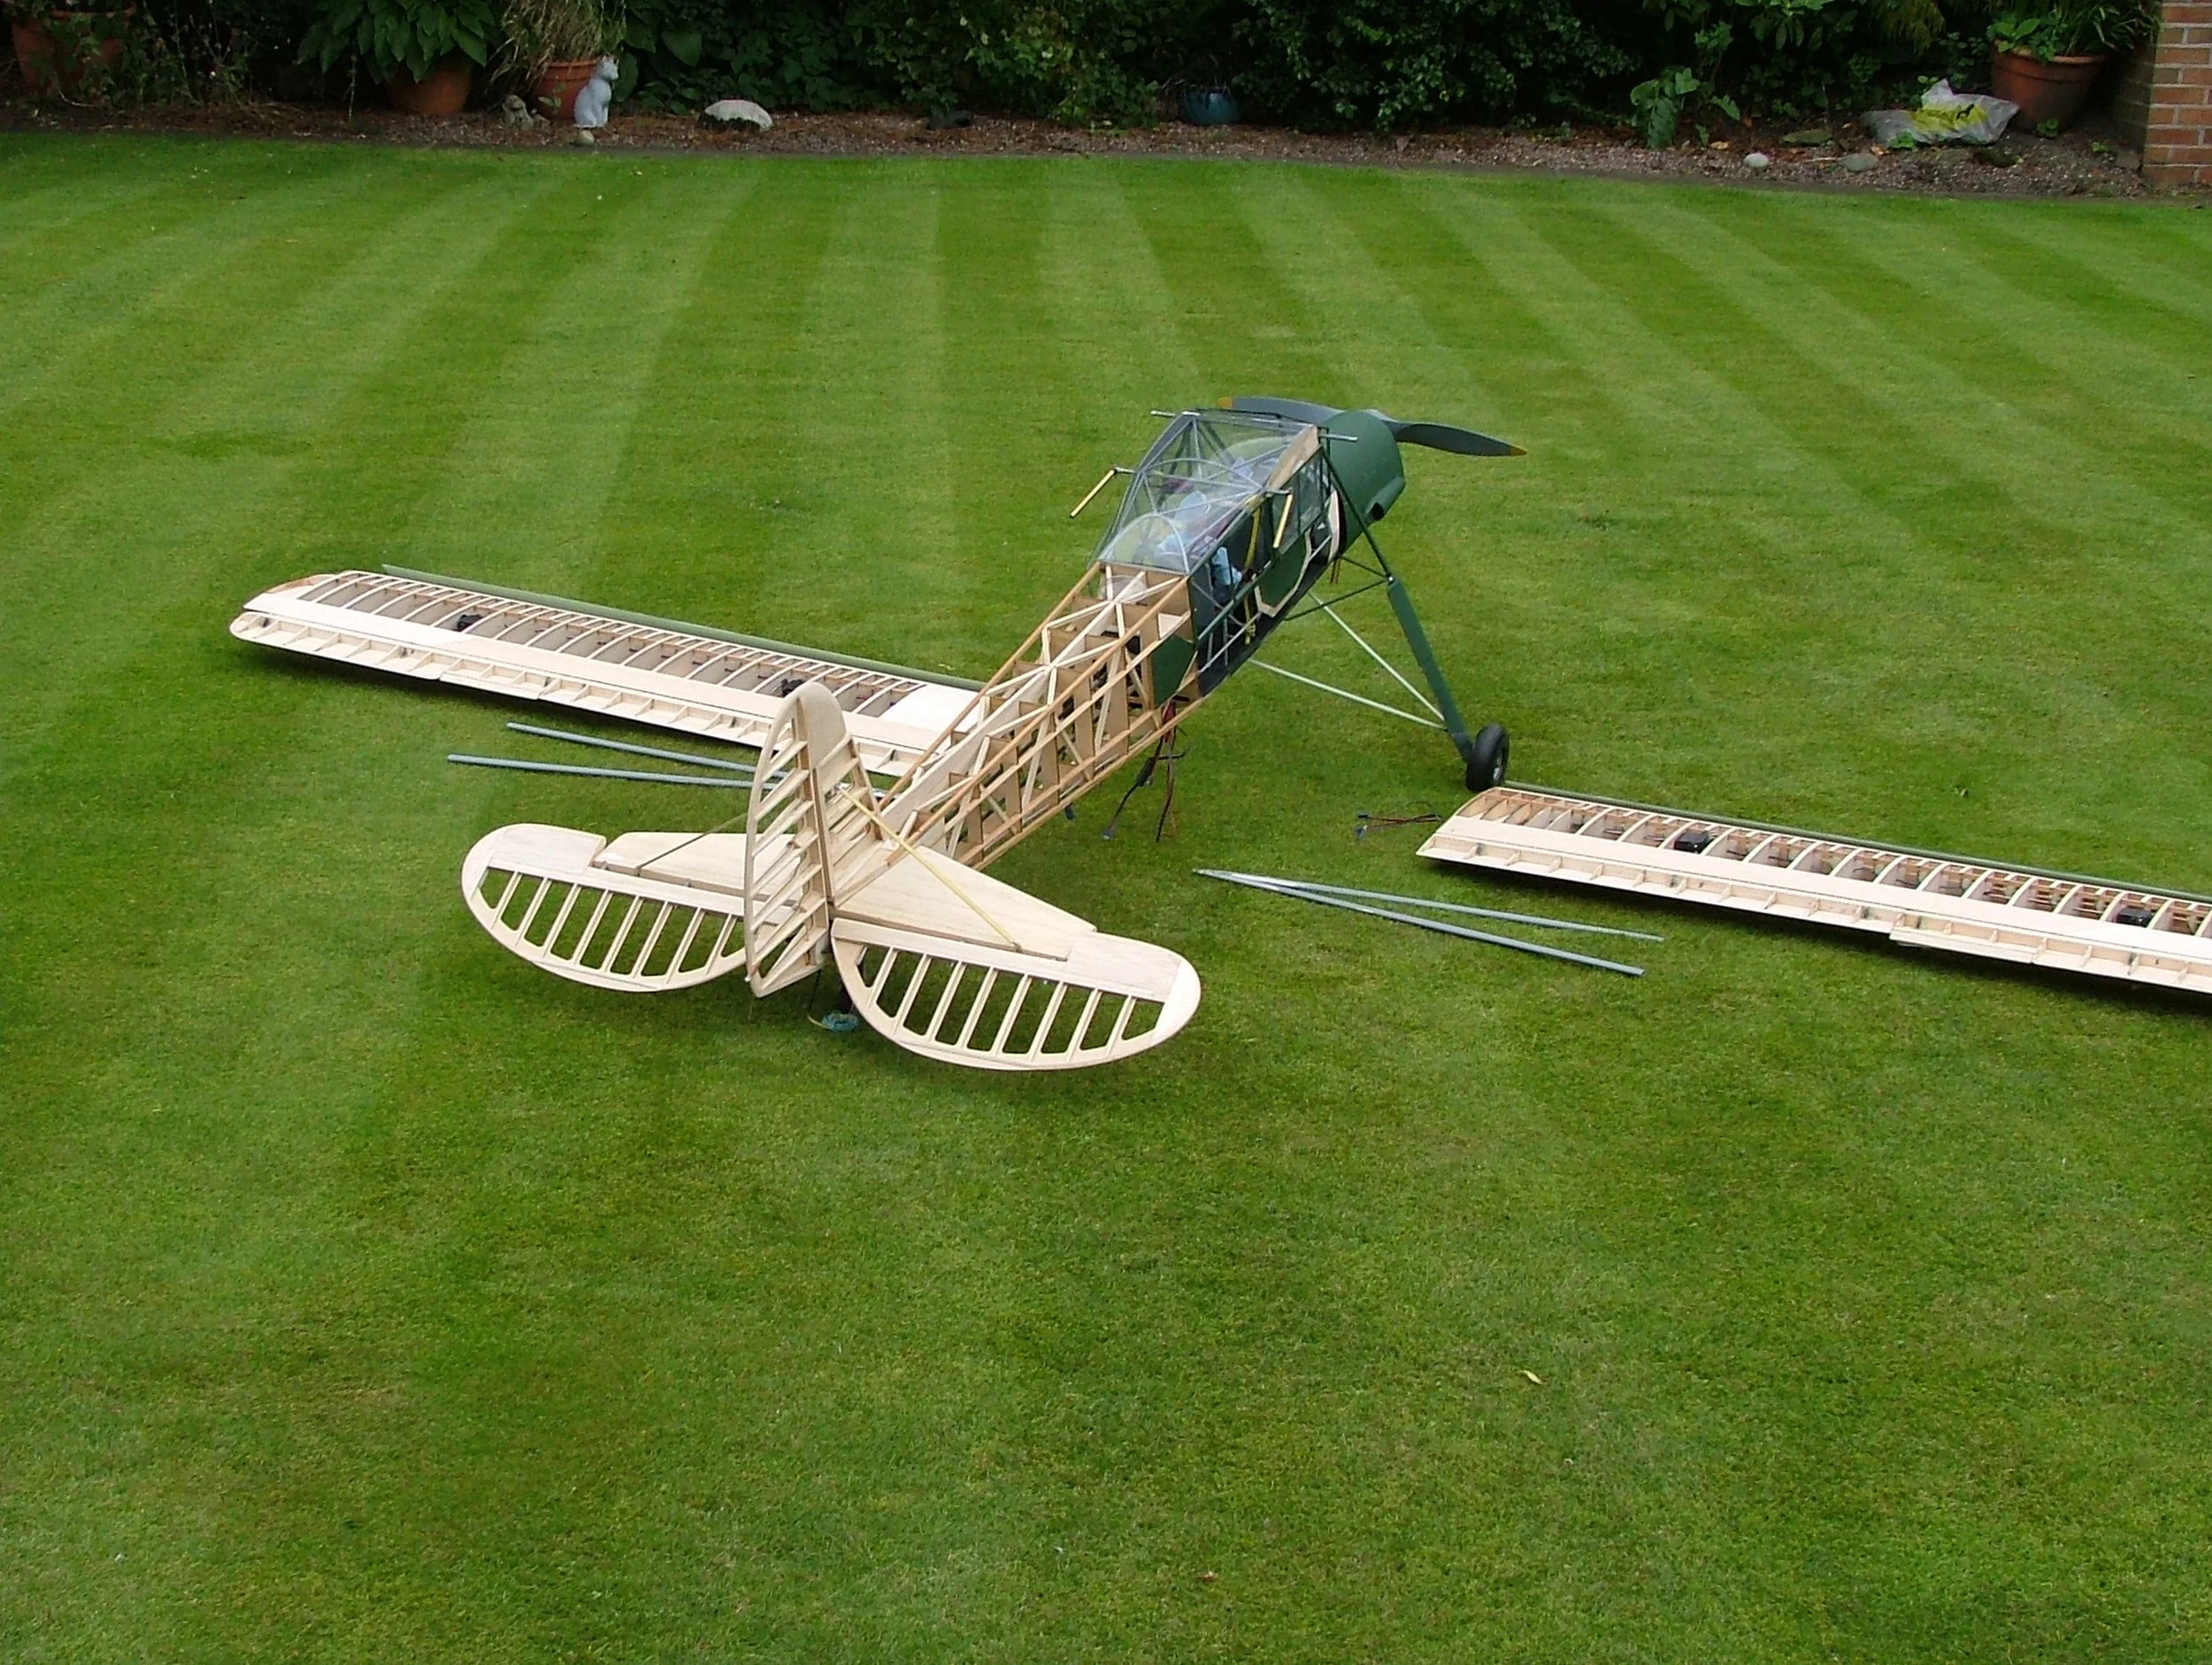
Whilst I did make the effort on the tail end of the fuselage by constructing the tailplane/elevators, and fin/rudder as an open framework structure. However, when I received a couple of photos of Stephen Wood’s airframe I realised that my Storch would probably be the heaviest of the three Storches. Stephen had drilled holes in all the rear formers and quite large holes in the ¼” plywood floor plates. Whilst I wished I had similarly drilled the rear formers I have very mild concern about removing too much material from the ¼” plywood floor plates, because this flooring supports and is attachment for the undercarriage. Storch undercarriages can be subjected to high forces. Stephen’s Storch will certainly not require a lot of nose weight. I have chosen to have my batteries up front under the cowl (well forward). That should balance it and if not I can always fit a larger capacity ‘heavier’ battery.
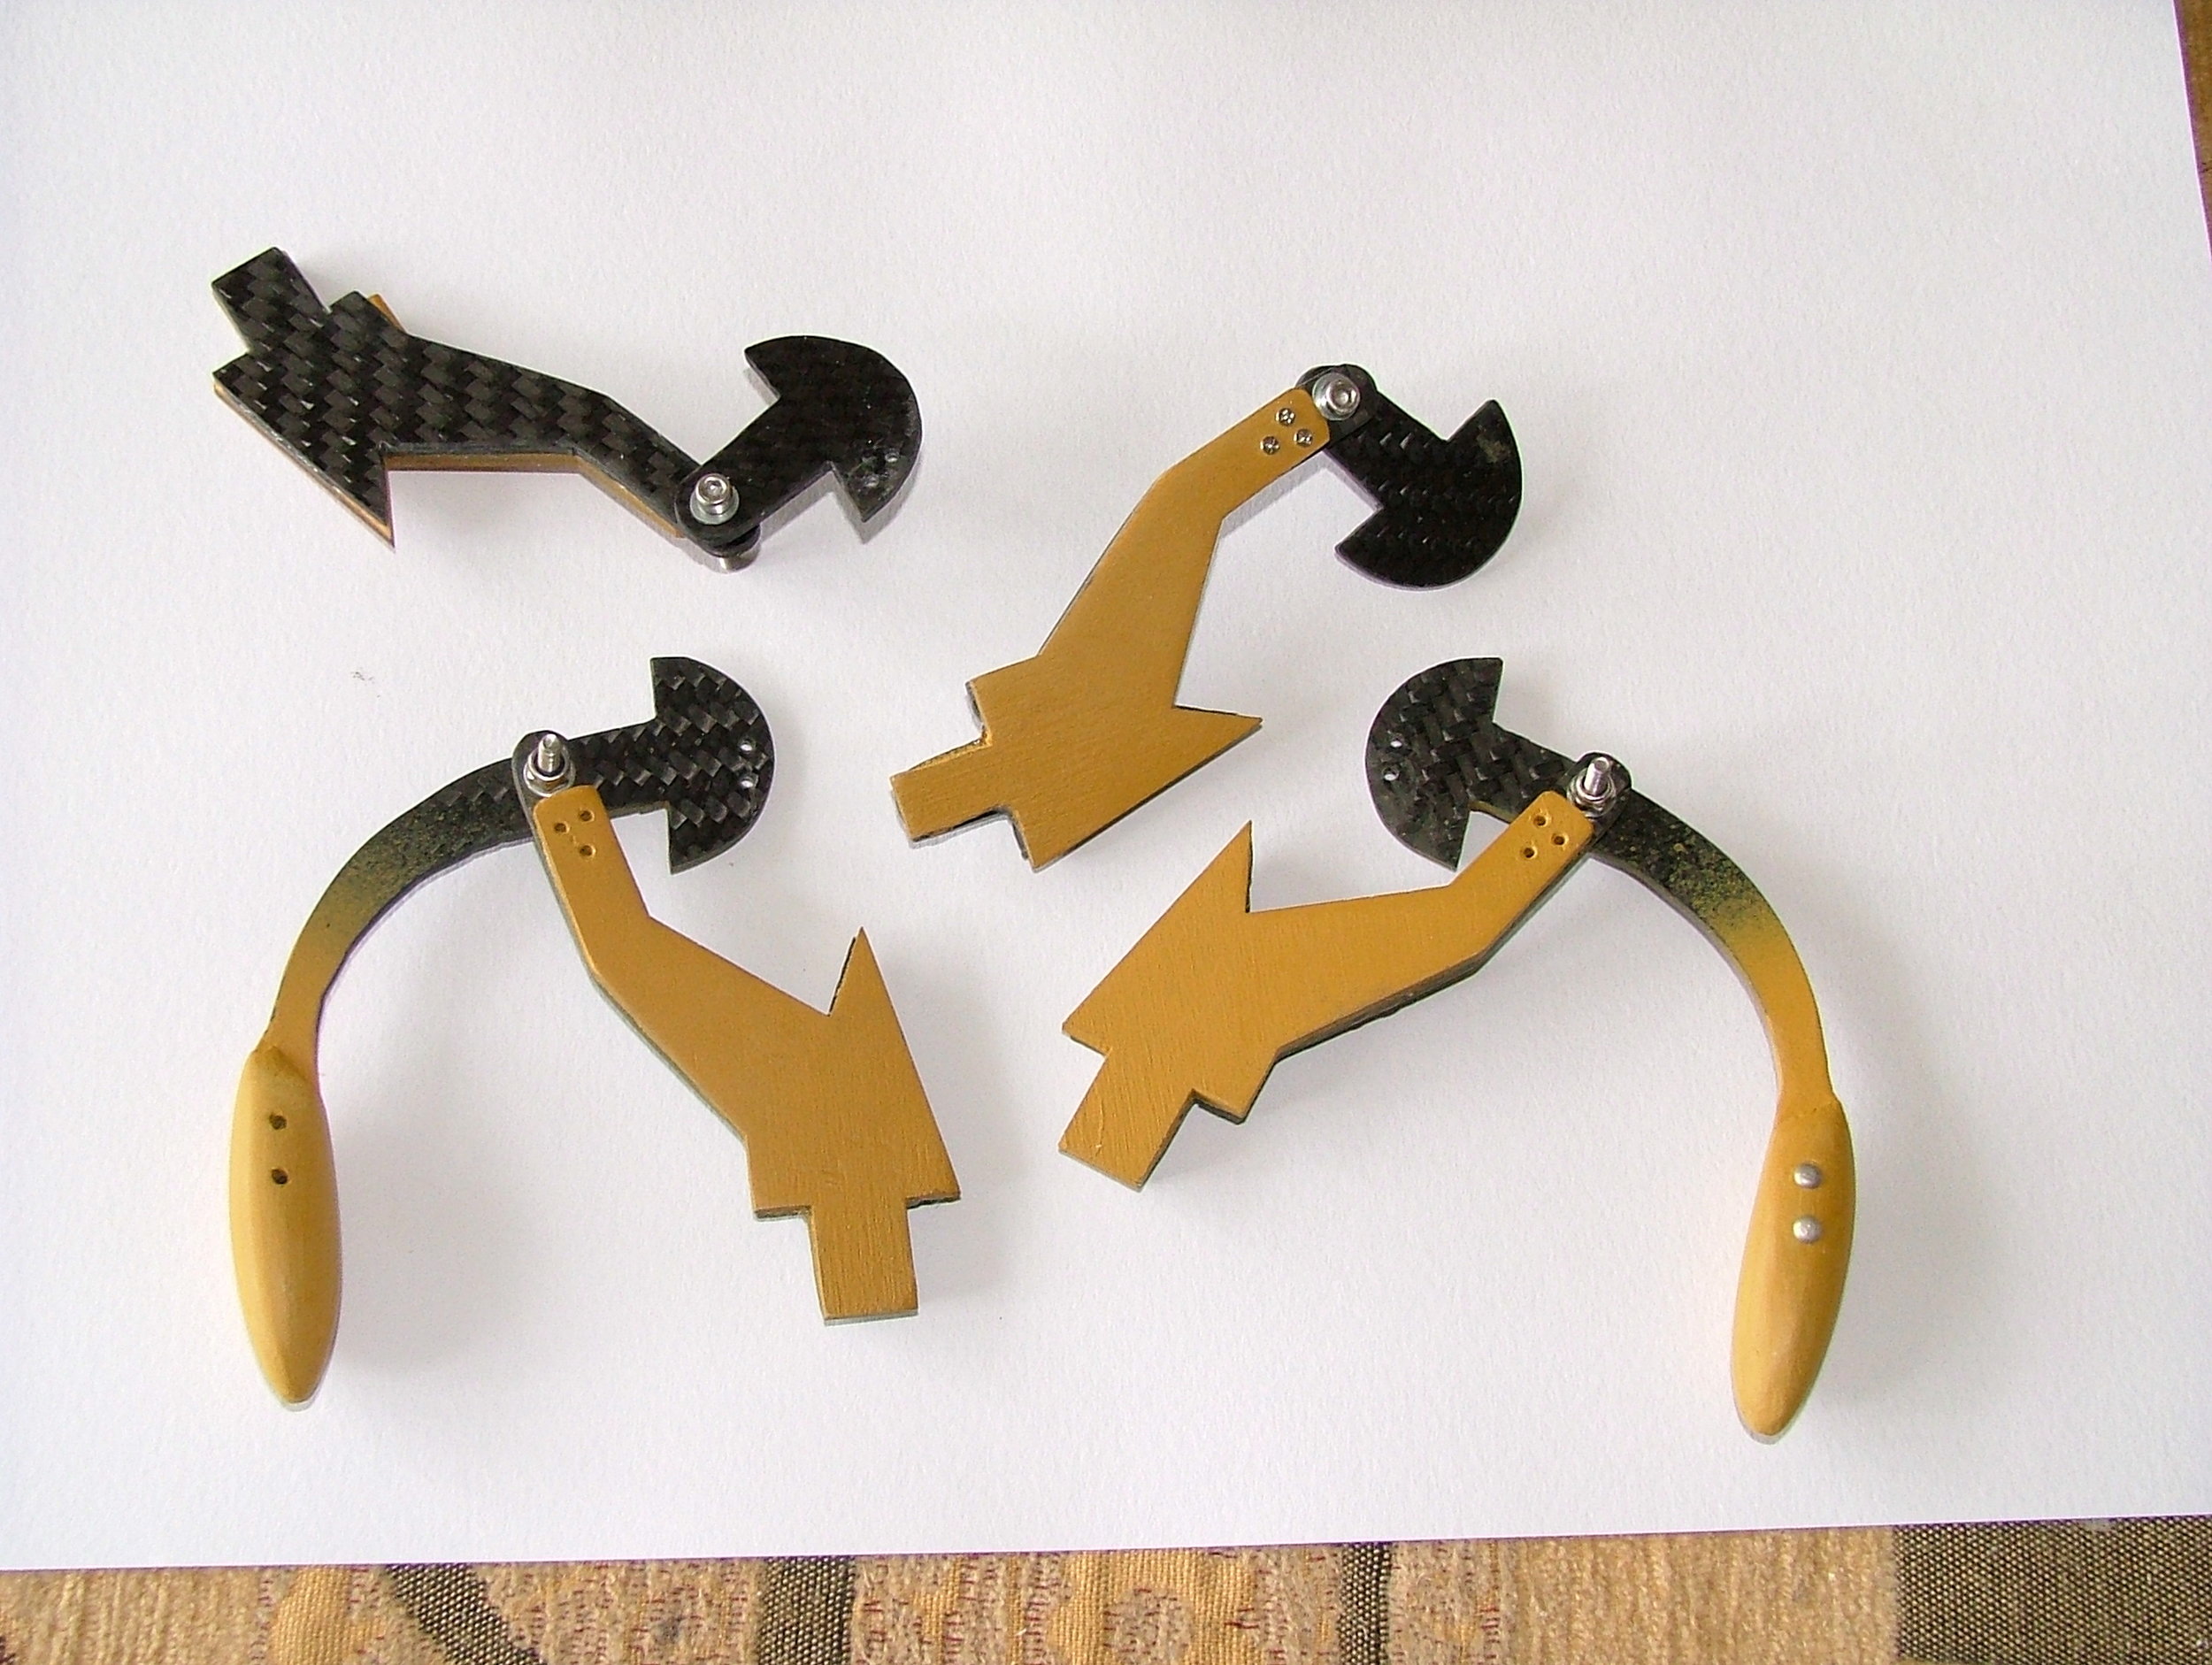
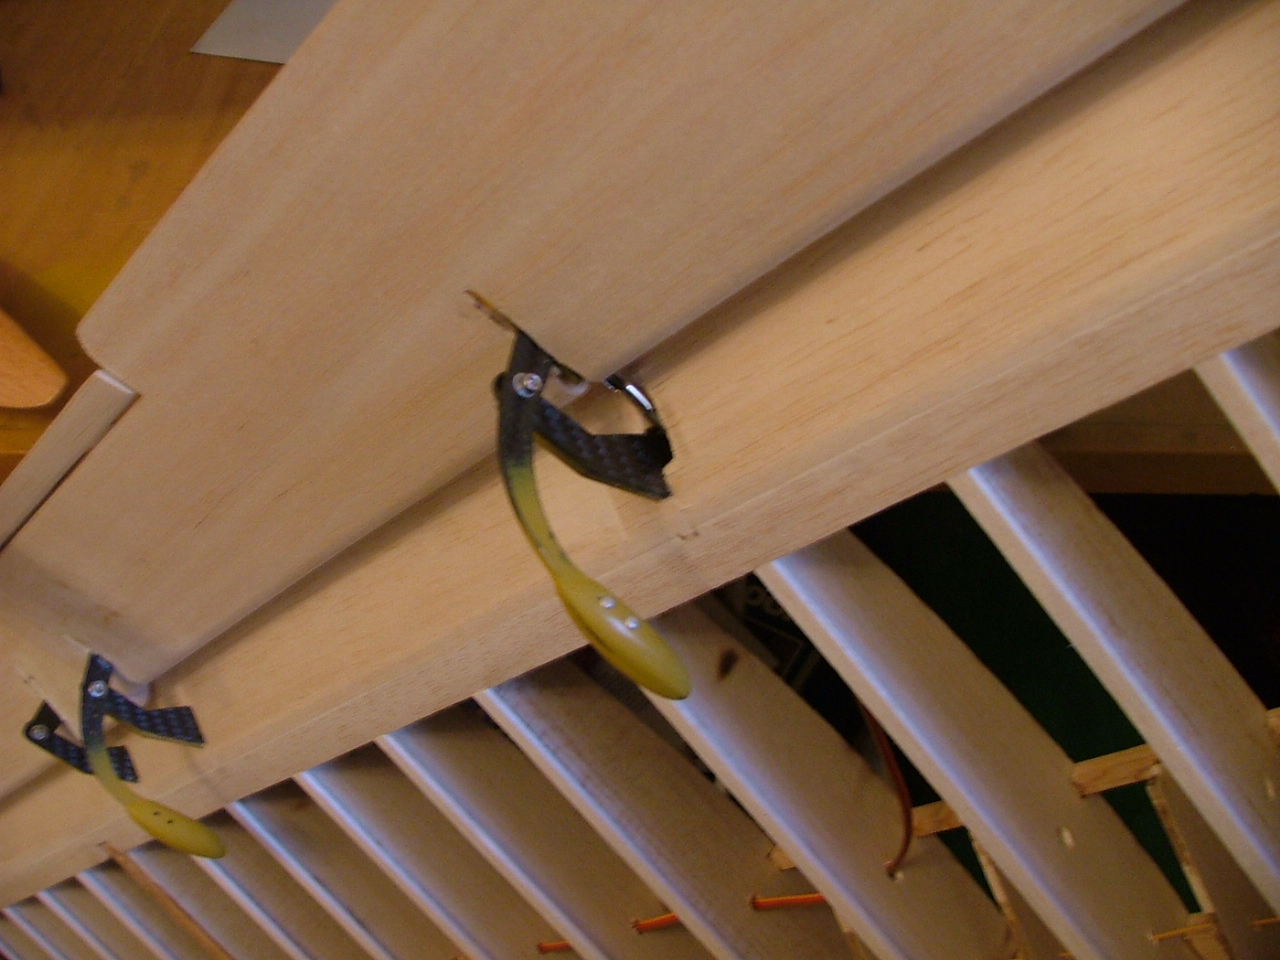
Hinges
The Ed Newman drawings proposed the use of plywood hinges for the wing surfaces. Having produced these hinges in ply I decided that using plywood in this application there was insufficient material around the pivot points (particularly for the flap), so I set about cutting my wing hinges from carbon fibre plate. Carbon material used on hinges works
Very well, because the surfaces move freely together, and don’t warp. Joining the two pieces with cap head screws and nylock nuts enables the correct tension to be applied avoiding resistance or slop in the movement.
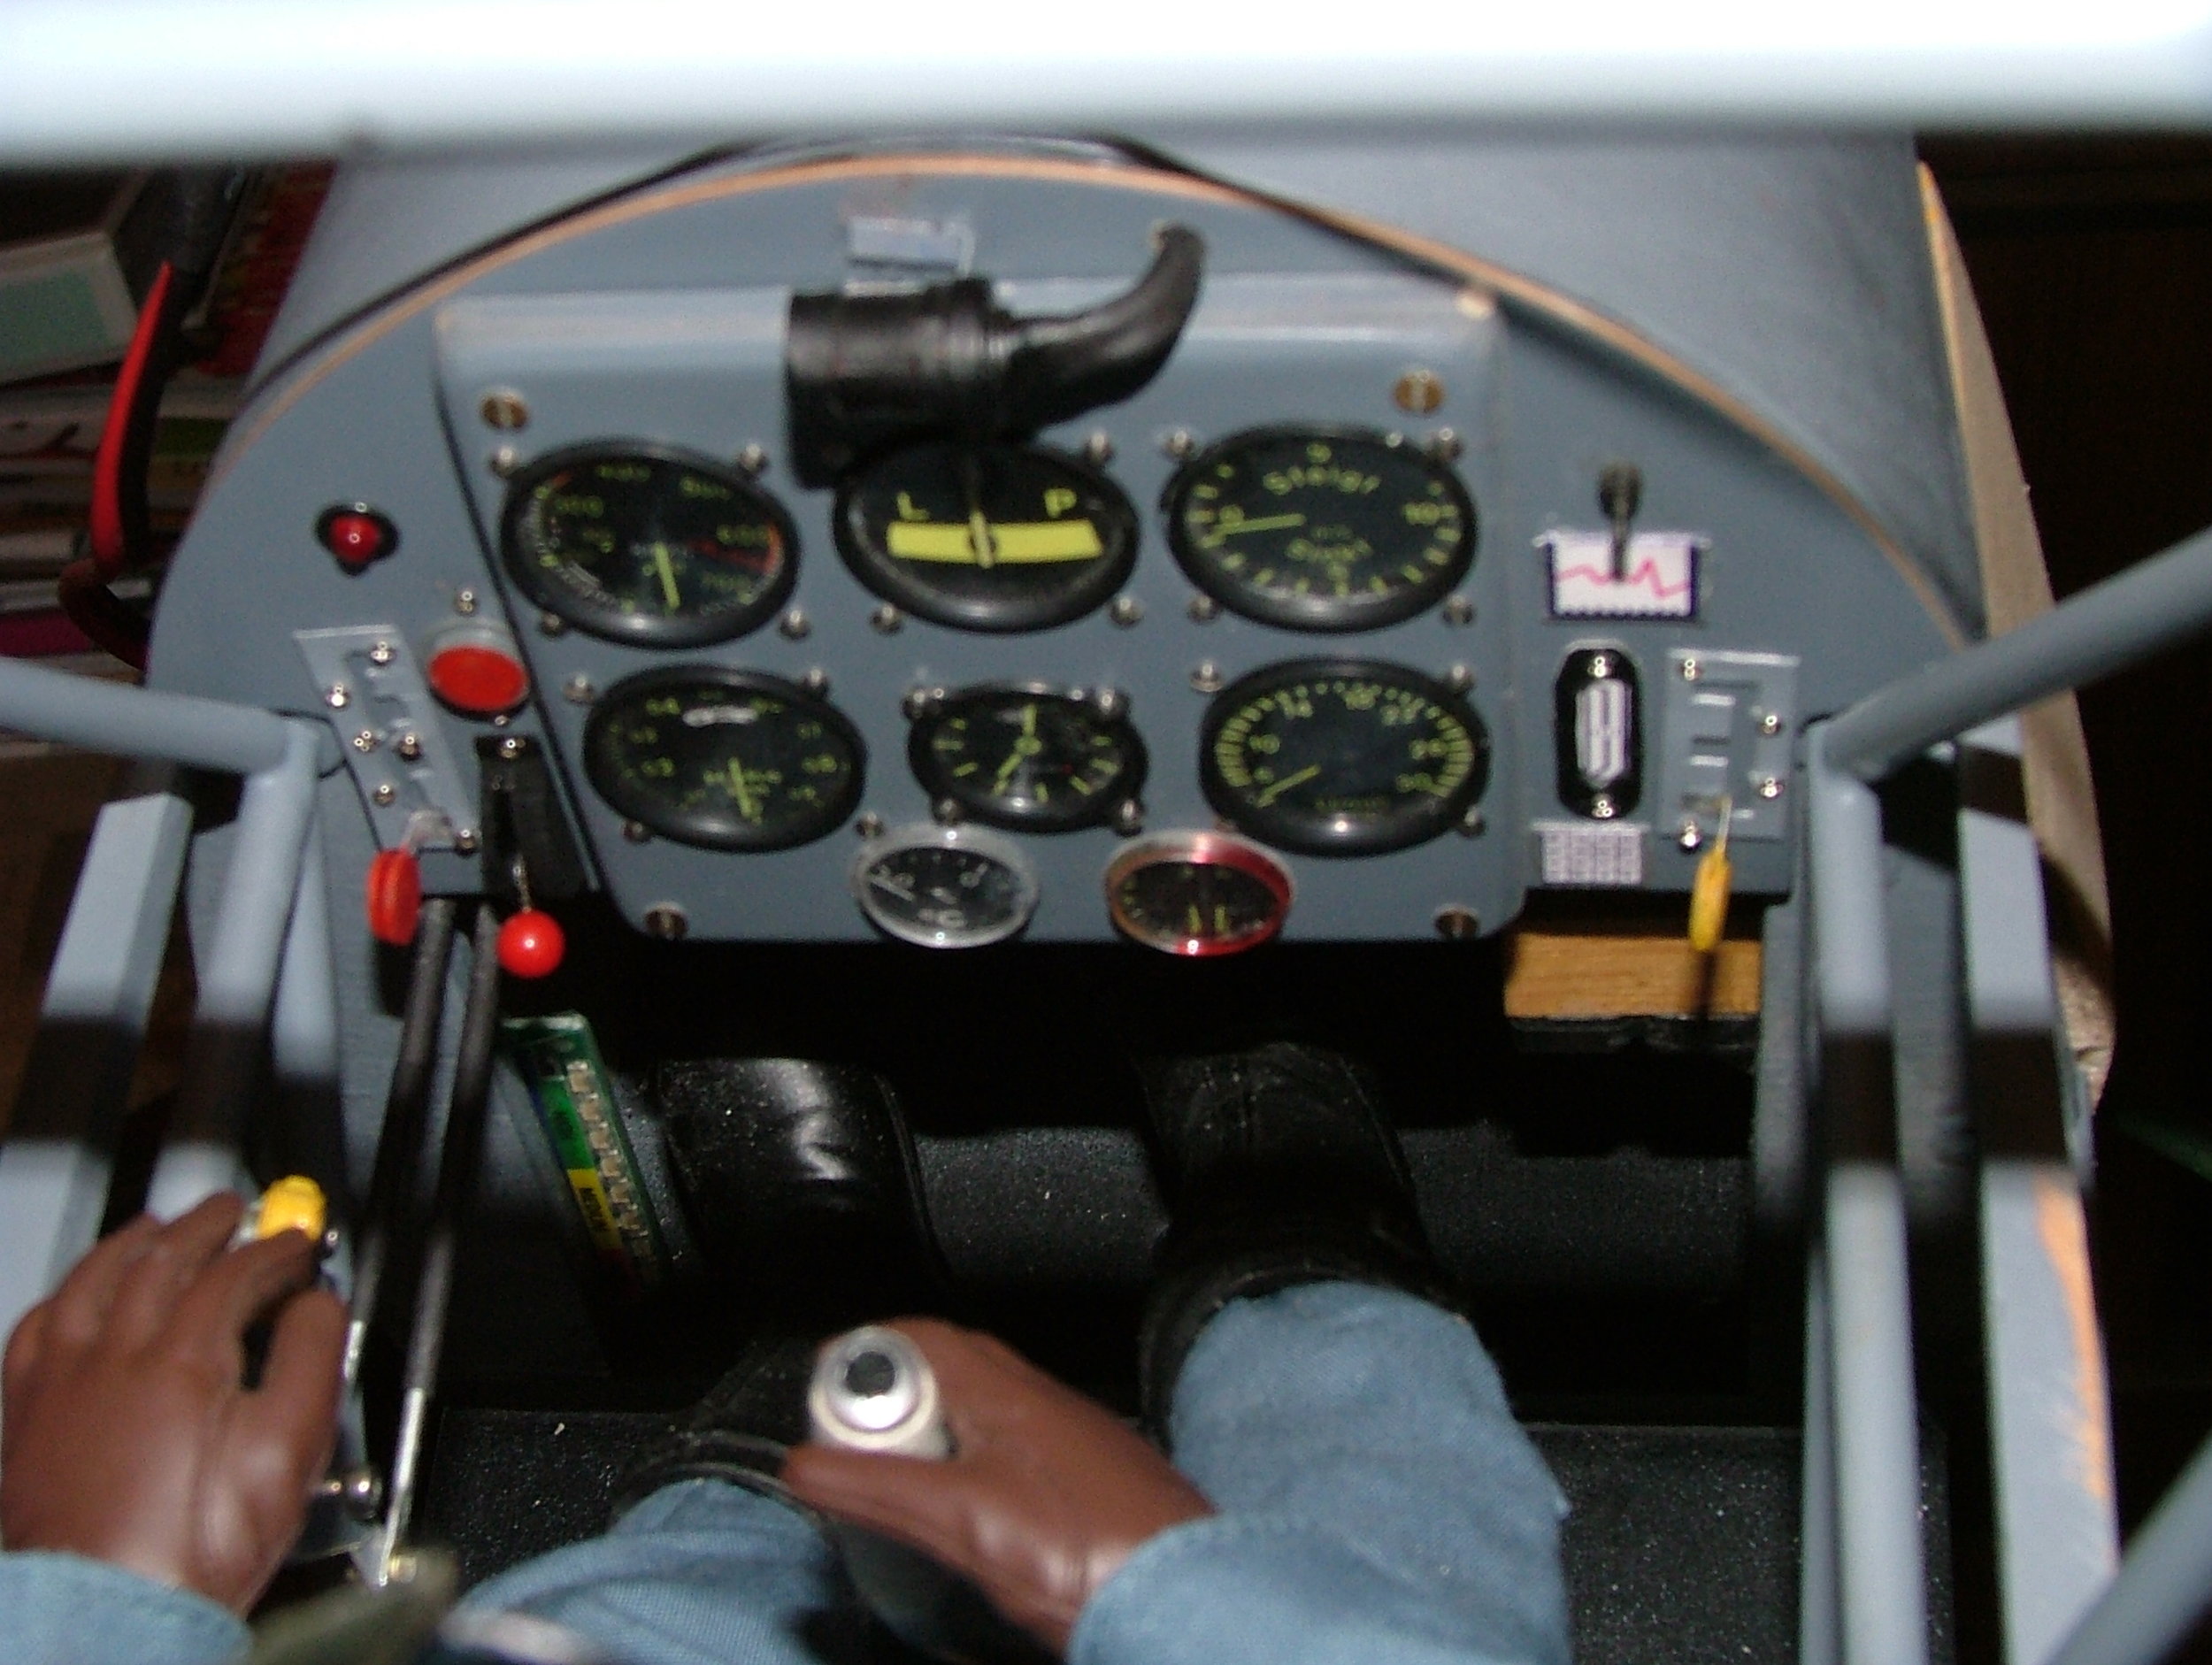
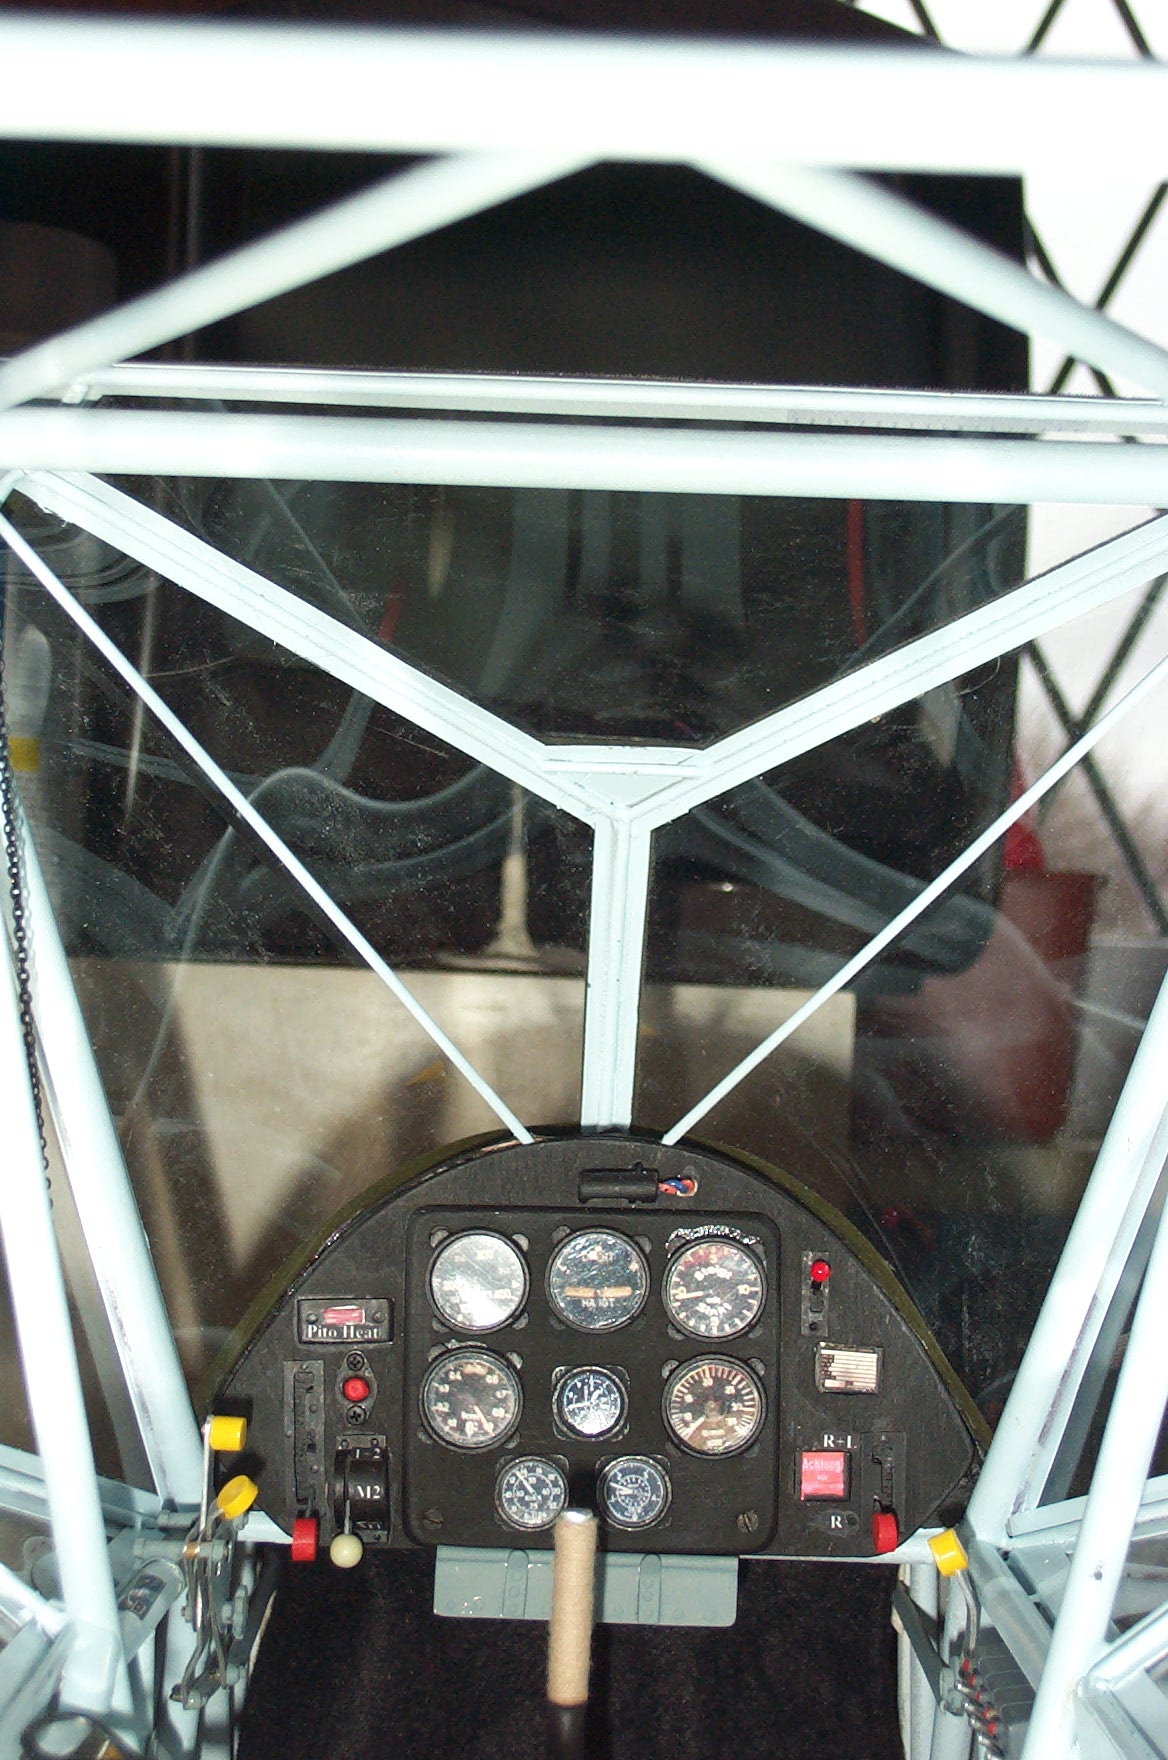
Cockpit Detail
The Storch lends itself to cockpit detail, or should I say insists on it because of the large ‘greenhouse’ cabin area. The dashboard is quite Tutonic as it would be, but functional. Throttle/mixture flap and trim controls are very visible to the critical eye of the ardent scale modeller. What was it John Kidd said to me “only apply the detail that can be seen”. There are some external panels which lend themselves to adding to the external scale enhancements. We have utilised some of these full size features to our advantage. For instance the large panel immediately behind the cabin provides access to locate rear servos and receiver etc. The receiver in my Storch is currently 35 MHz., but expect to fit 2.4 GHz. at a later date having made provision for it with aerial tubes etc. This panel enables quick and easy access to these vital facilities. I initially constructed this panel from litho plate, but replaced with a plywood plate after reading a recent 2.4 GHz. article, which stressed metal plates close to the 2.4 aerials could mask transmission. On the full size on the port side of the cowl it has an ‘engine starting dog’ to provision for the starting handle. I have disguised my ignition for the Laser V200 as this starting dog. Yes, it does have a starting handle for static display. I believe that John has used the ground power socket as his battery-charging socket.
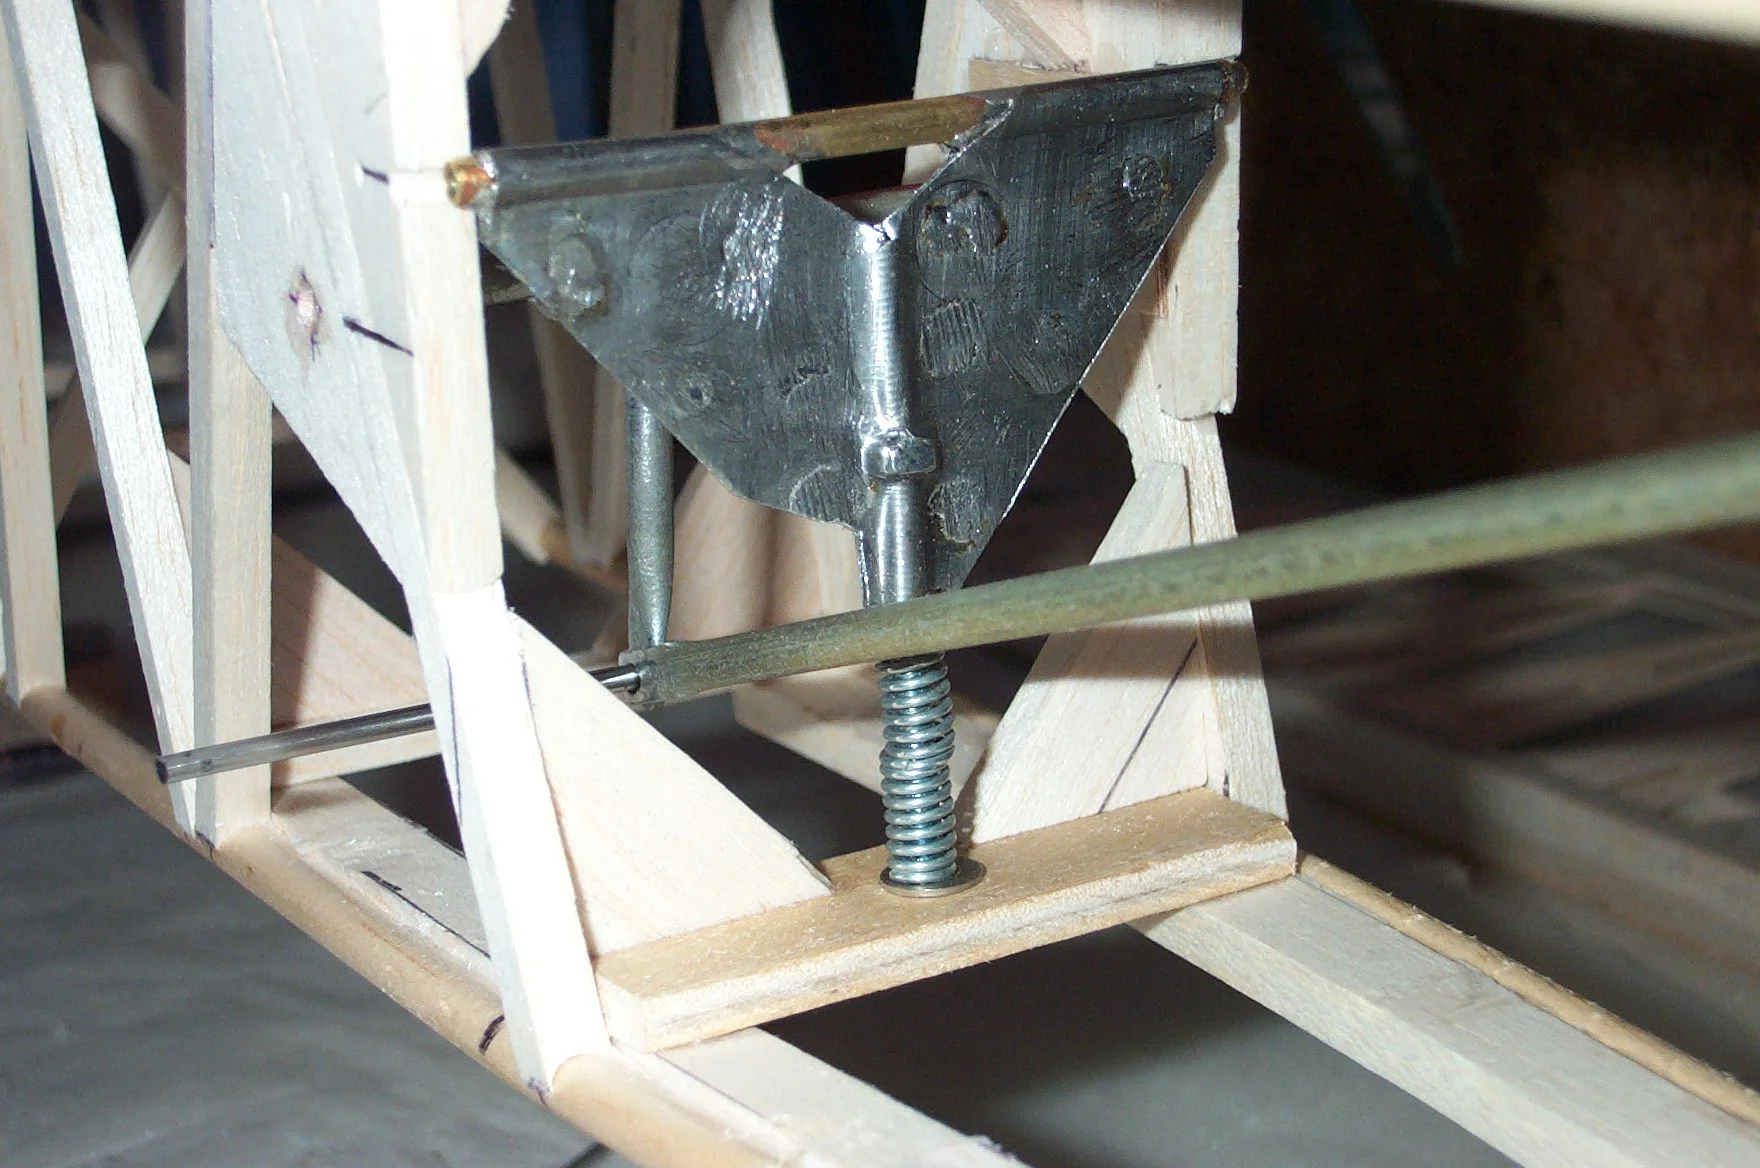
Variable Tailplane Incidence
John equipped with full size details of this control mechanism has chosen to apply this full size feature on his model Storch. I thought it was quite ambitious as probably did he in relation to my folding wing. John completed this variable tailplane incidence without any fuss or drama. The only reservation I have for this feature is that you have to remember at all times where the tailplane incidence is positioned. It will be interesting to observe how John copes with this adventurous function, but expect it to be a fantastic success for him.
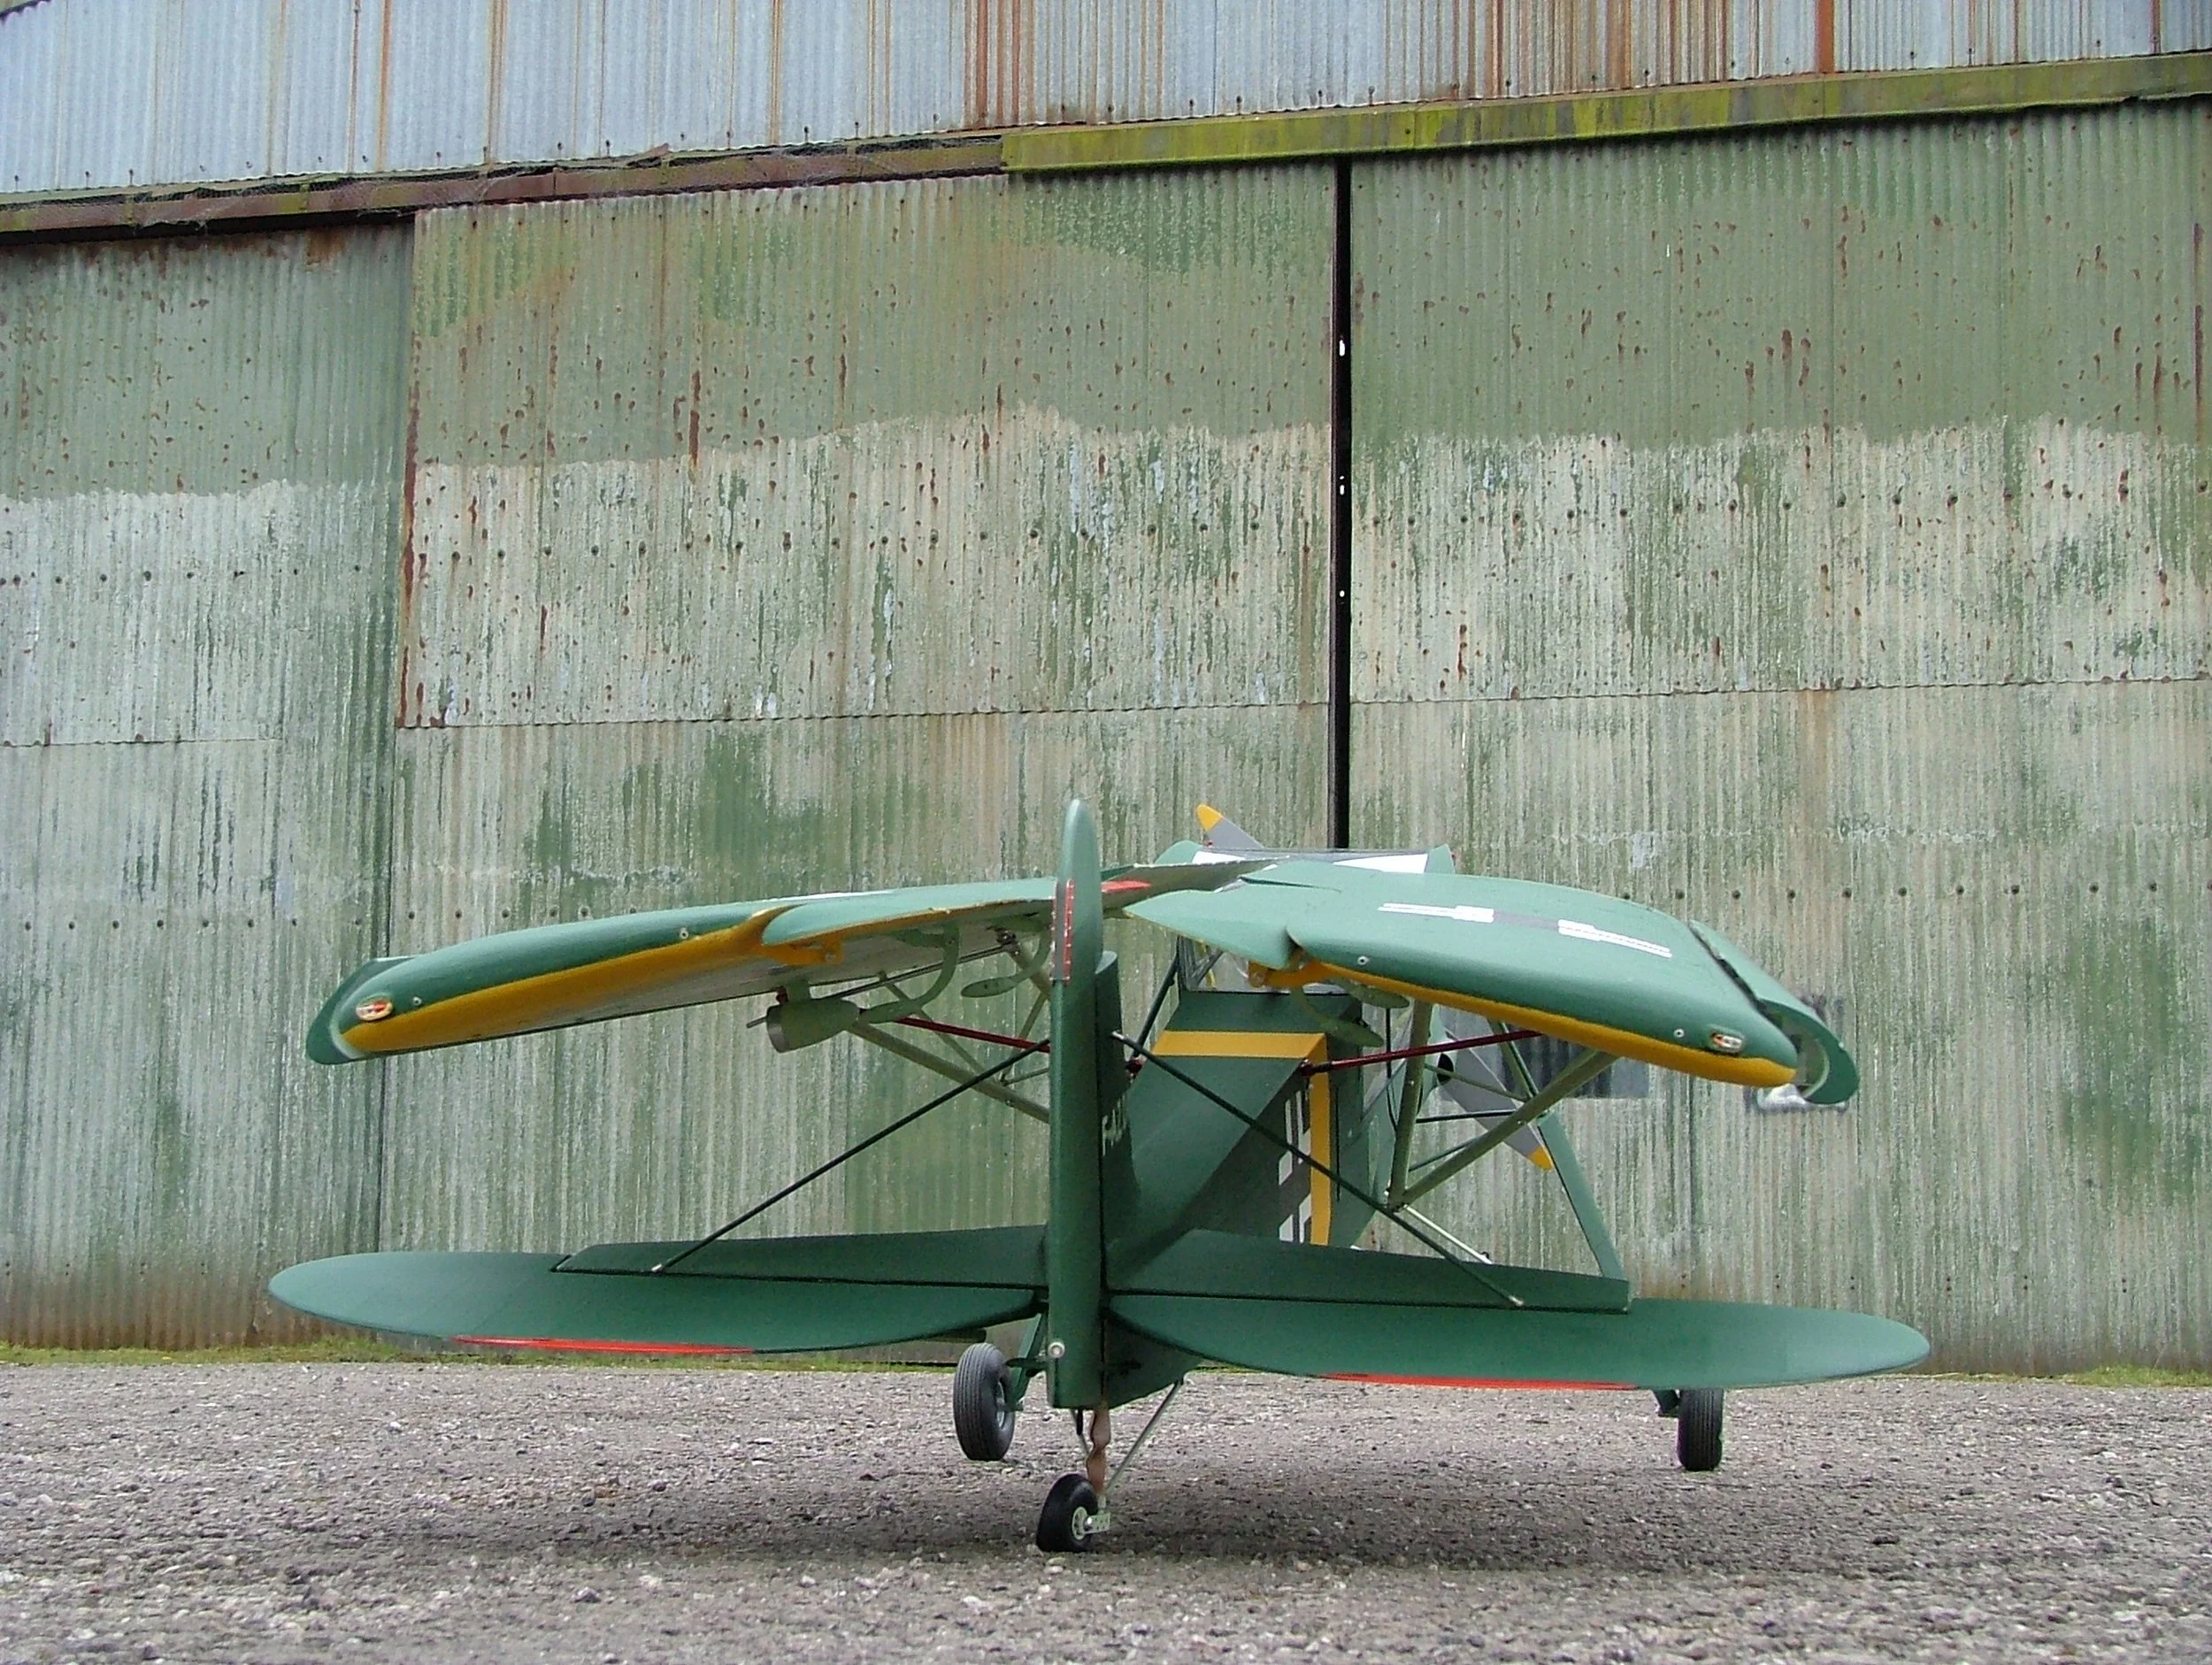
Folding Wings
This part of the project was nearly my downfall. Neither of the other two Storcher’s (John, and Stephen) had opted for this feature and I don’t recollect any other Storch model sporting folding wing. I do recollect John saying “I wouldn’t attempt it without making a test model of the folding mechanism”. How right he was!
My first hurdle was the geometry of the of the wing folding. The wings and especially the flaps have to clear the raised portion of the gun turret canopy. The wing when it swivels back has to tip up at the trailing edge. The final problem was the lower pivot (ball joint) which was still trying to bend the fuselage attachment with the wing refusing to fully fold. It was only after a visit to Peter Holloway’s full size Storch at Old Warden and some very close scrutiny of the wing struts that I found the answer. It wasn’t obvious that the ball joint on the end of the strut also rotated inside the strut. Ureka!
In respect of the locking pin mechanism I consulted with my retired mechanical expert friends. They kept reassuring me that 2mm pins were adequate for a 20lb model, as it is only sheer force. I fabricated two ‘T’ bar steel pins with 2M thread. I was advised to ensure that the pin had no thread at the wing joining sheer area. I completed the handles by potting them with epoxy in a mould. You may note ‘O’ rings on the pins which are present to hopefully prevent the pins unscrewing in flight. For transit security I have used the method of the full size, which is to tether the wings to the side of the fuselage with jury struts. Lets hope that it works in flight and that I managed to get the incidence of the wing right after all the changes that I had to perform.
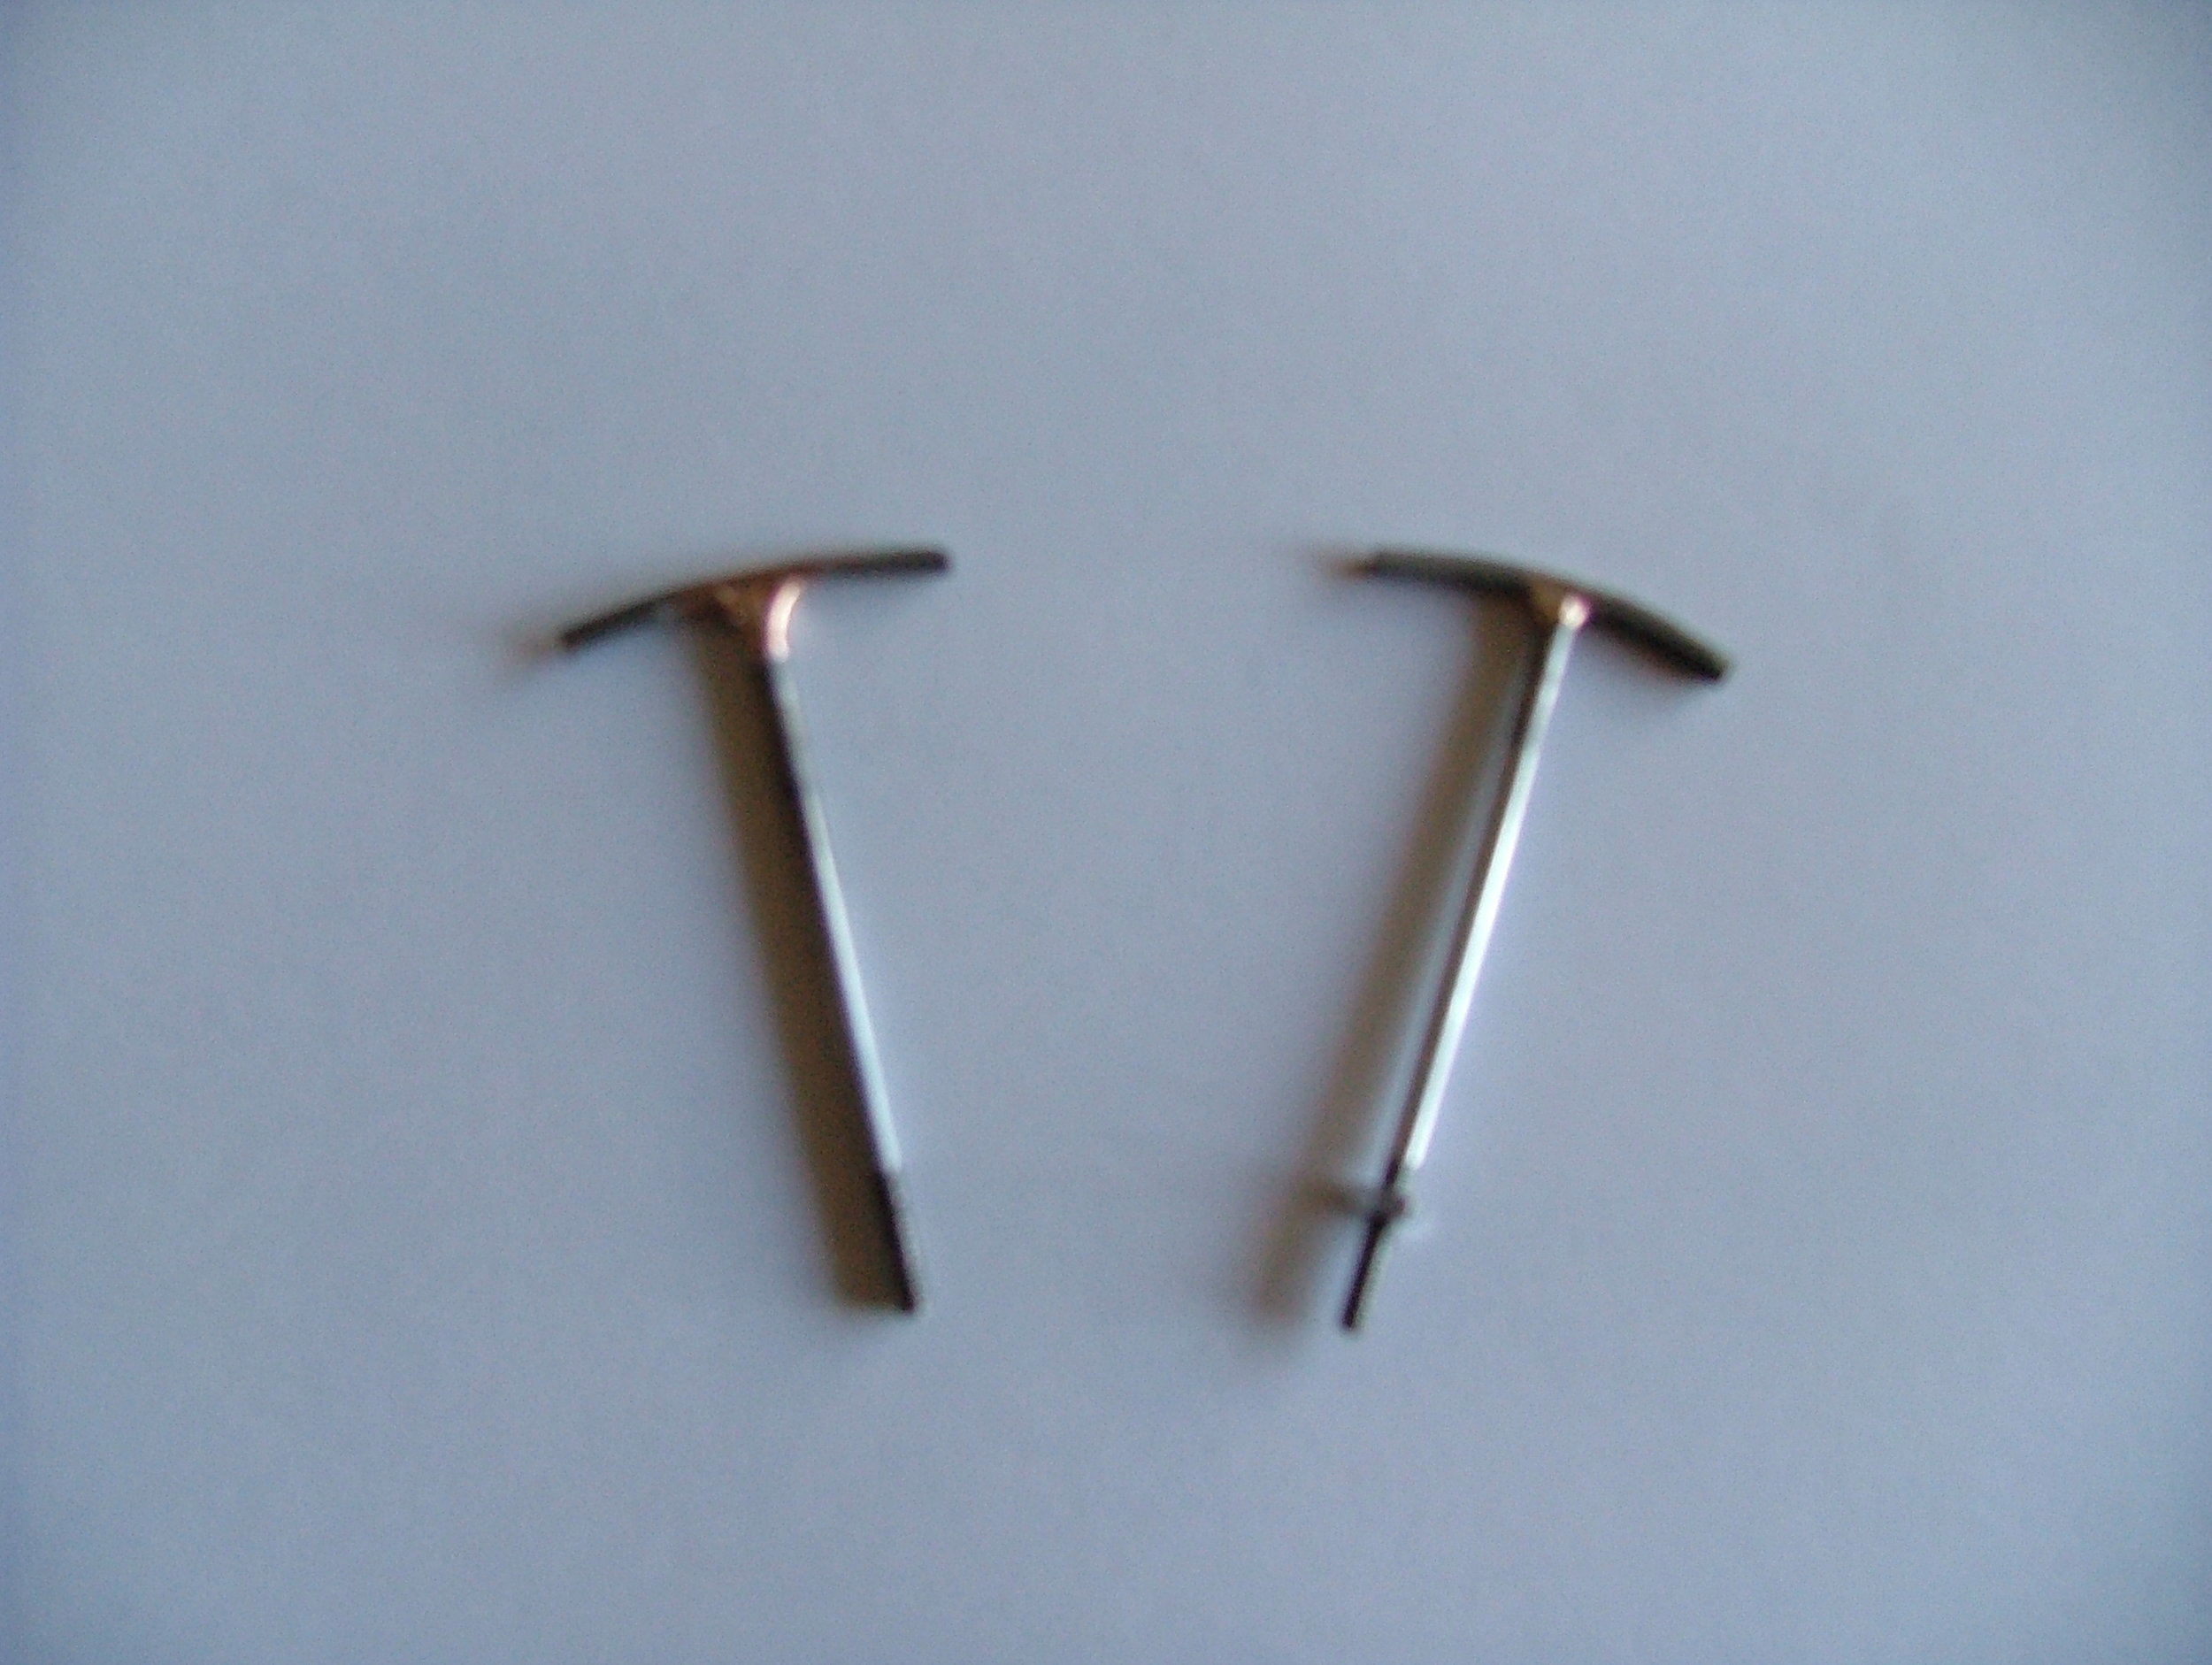
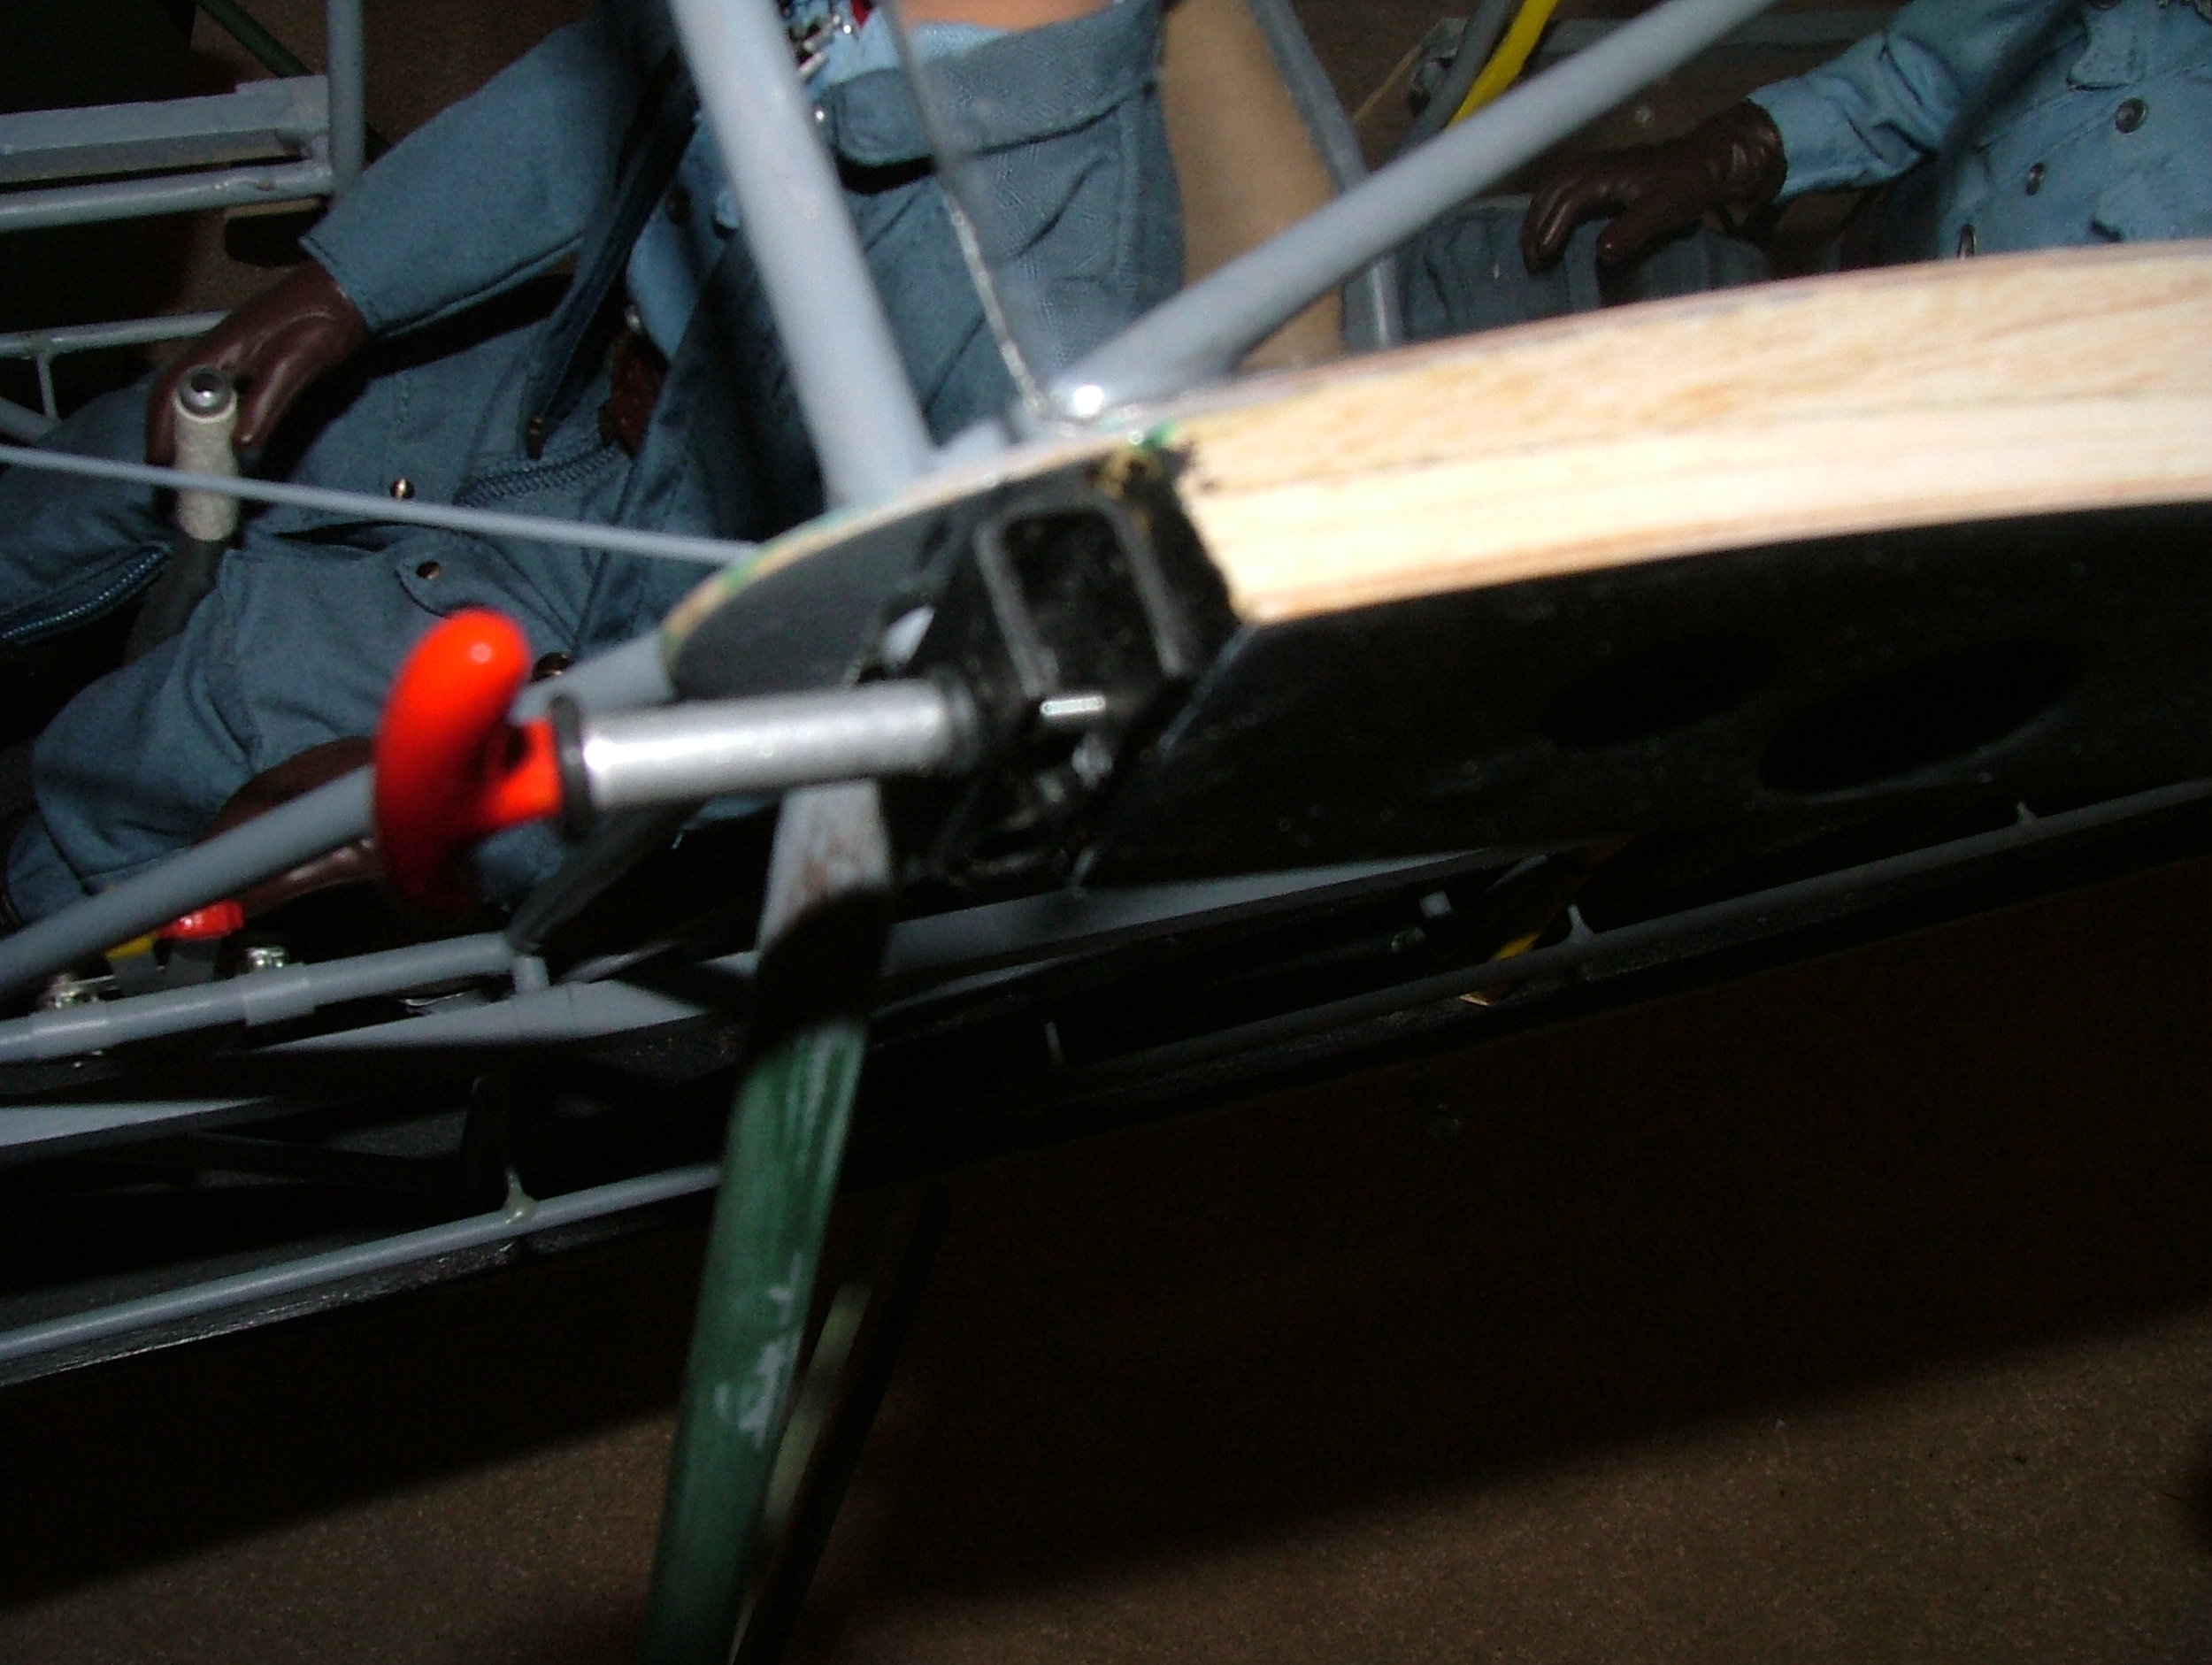
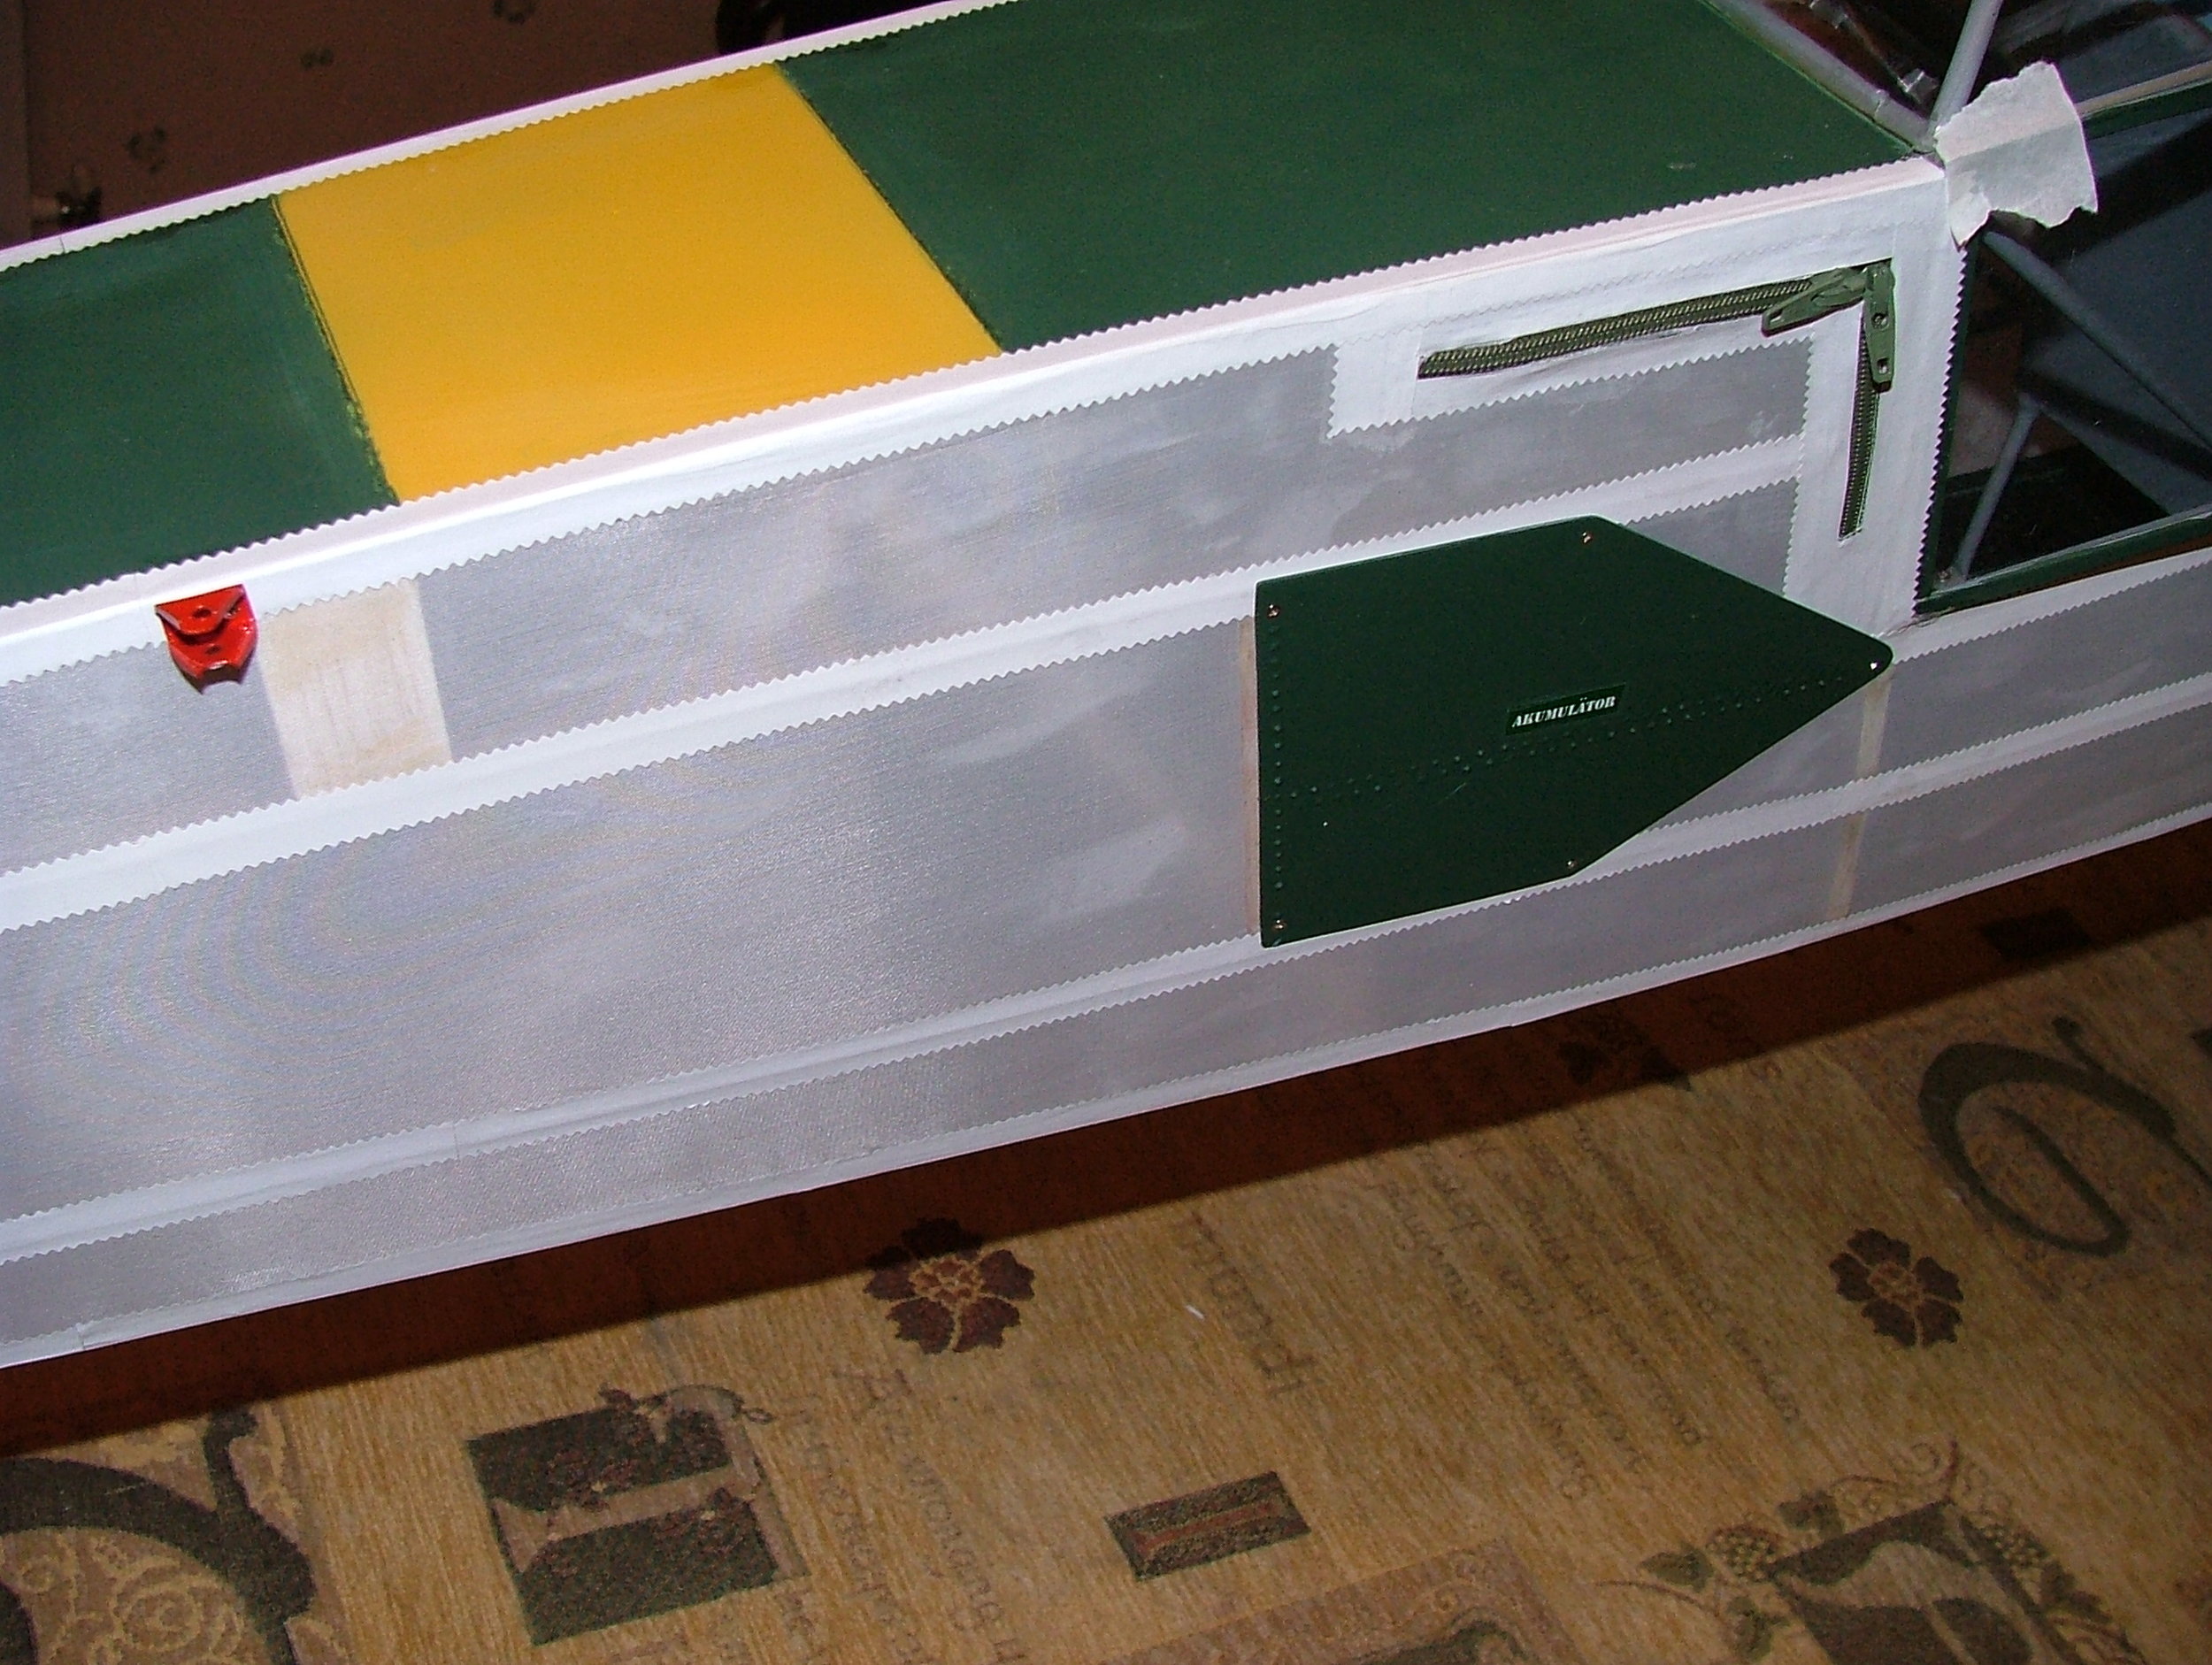
Photo Shoot
It was proposed that all three models were to be at Old Warden for a Photo Shoot with G-STCH as a backdrop, which we hoped would have then been included in this article, unfortunately this wasn’t to be as the full size engine had to be returned to Germany for inspection after it’s first flight and has been delayed in it’s return. I am sure this will happen at some later date. What do they say about ‘best laid plans by mice and men’? It is further proposed to have all three Storches at the Cosford LMA event in the summer.

Summary
The Storch Trio has been a very enlightening exercise I believe for all three of us. We have had access to a lot more information and construction methods than we would have had working in isolation. It has also helped to keep the momentum of build progressing. Should you have a similar situation with a project and a fellow scale modeller I would recommend it. All three of us are looking forward to Peter Holloway’s full size Storch being available for a future photo-shoot.
Gary Protheroe
(Photographs courtesy of John Kidd, Stephen Wood and Gary Protheroe)